
Domotz Collector Installation on Windows OS
You can download the Domotz Collector for Windows OS by accessing the Domotz Web App (or Desktop App):
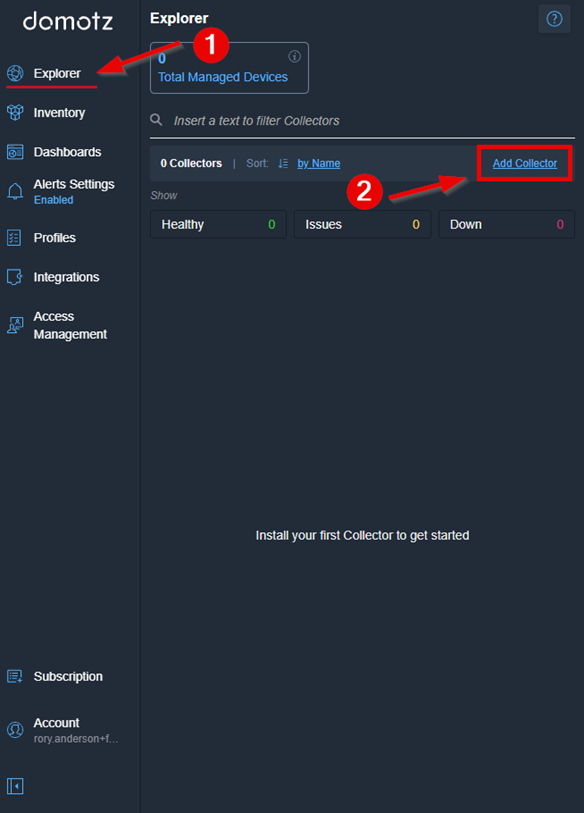
Accessing Total Managed Devices and Adding a Collector in Domotz
1. In the Domotz interface, select "Explorer" from the left-hand menu. This area shows the "Total Managed Devices" count, currently at zero.
2. To add a Collector, click the "Add Collector" button located on the right side of the screen. This allows you to begin tracking and managing devices.
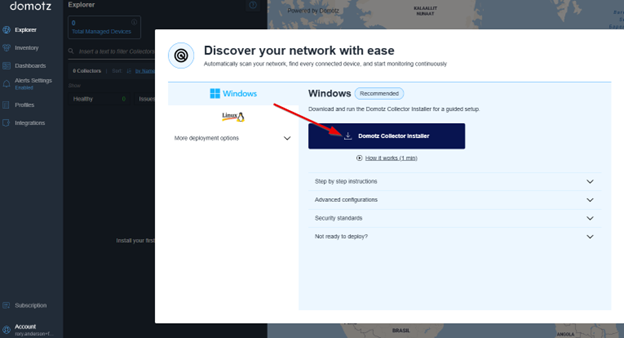
Downloading the Domotz Collector Installer for Windows
1. Go to the "Discover your network with ease" section.
2. Ensure the Windows option is selected, indicated by a blue highlight.
3. Click on the "Domotz Collector Installer" button to download the installer for a guided setup.
4. Explore additional options like "Step by step instructions," "Advanced configurations," "Security standards," or "Not ready to deploy?" by expanding each section for more details.
Run the installer as an Administrator and accept the terms of the agreement:
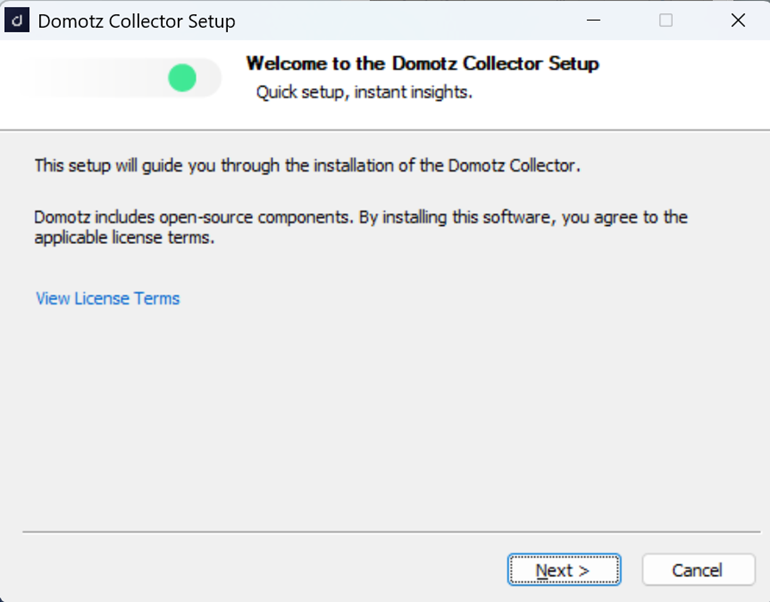
Domotz Collector Setup Welcome Screen
1. The screen welcomes you to the Domotz Collector Setup, indicating a quick setup with instant insights.
2. It explains that the setup will guide you through installing the Domotz Collector.
3. Mentions the inclusion of open-source components and the requirement to agree to license terms upon installation.
4. Provides a link to view the license terms.
5. Two buttons are available at the bottom: "Next" to proceed with the installation and "Cancel" to exit the setup.
Select the folder you want to install the Domotz Pro Collector for Windows, Confirm whether you are setting up a new collector or would like to transfer an existing license, and click on Install:
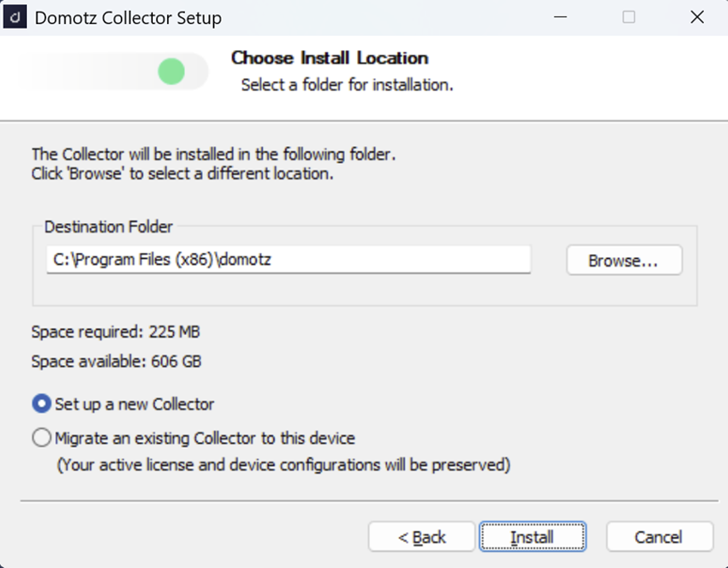
Domotz Collector Setup: Choose Install Location
1. The setup screen prompts to select a folder for installation. The default destination folder is "C:\Program Files (x86)\domotz". To change this, click "Browse" and select a different location.
2. Below the destination folder, it indicates that 225 MB of space is required and 606 GB is available.
3. Choose "Set up a new Collector" if installing for the first time, or "Migrate an existing Collector to this device" to preserve active license and device configurations.
4. Click "Install" to proceed with the setup or "Cancel" to exit. Use "Back" to revisit the previous step.
Wait for the installer to finish:
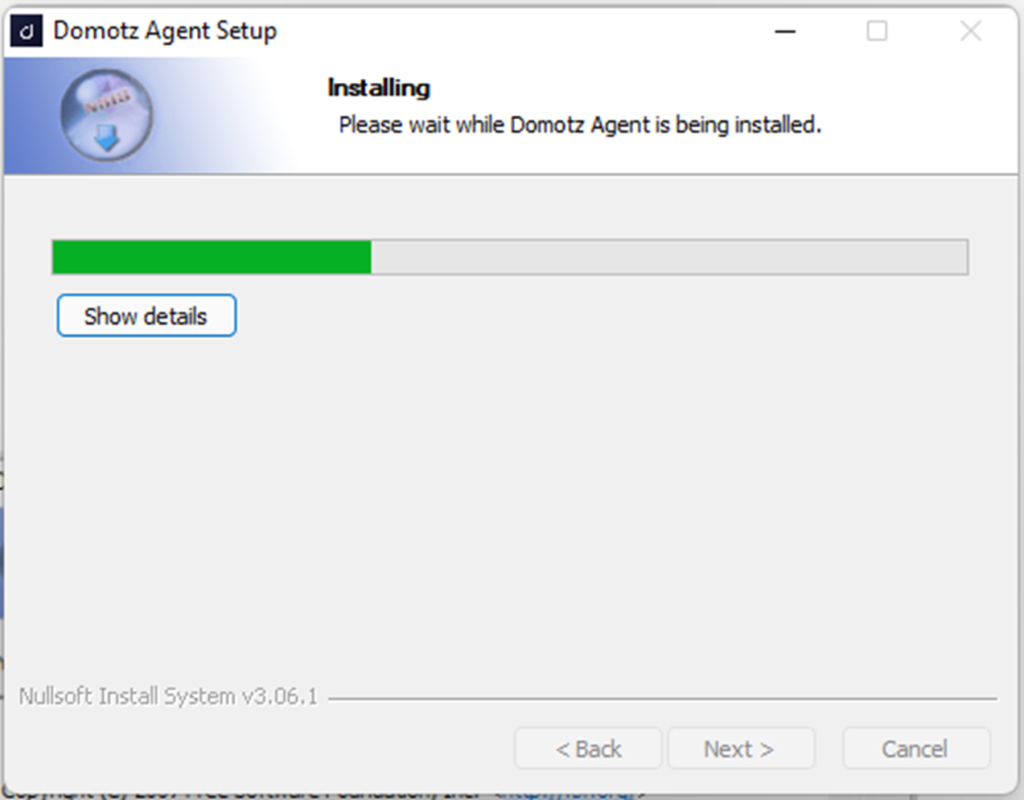
Installation progress of Domotz Agent.
1. The window displays the "Domotz Agent Setup" title.
2. A progress bar shows the installation status with a green fill indicating progress.
3. "Installing" is shown above the progress bar with a message: "Please wait while Domotz Agent is being installed."
4. A "Show details" button is available for viewing more information.
5. Navigation buttons at the bottom include "Back," "Next," and "Cancel." Use "Cancel" to stop the installation if needed.
When the installation is finished, click on Finish.
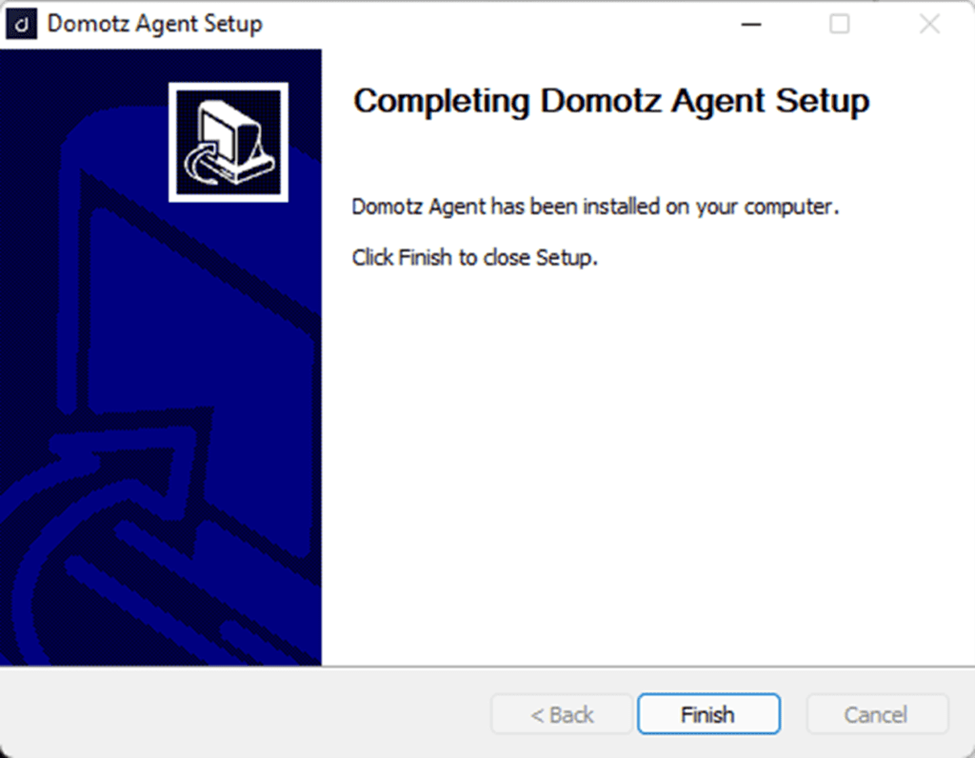
Completing Domotz Agent Setup
1. Confirm that the Domotz Agent has been installed on your computer.
2. Click the "Finish" button to close the setup process.
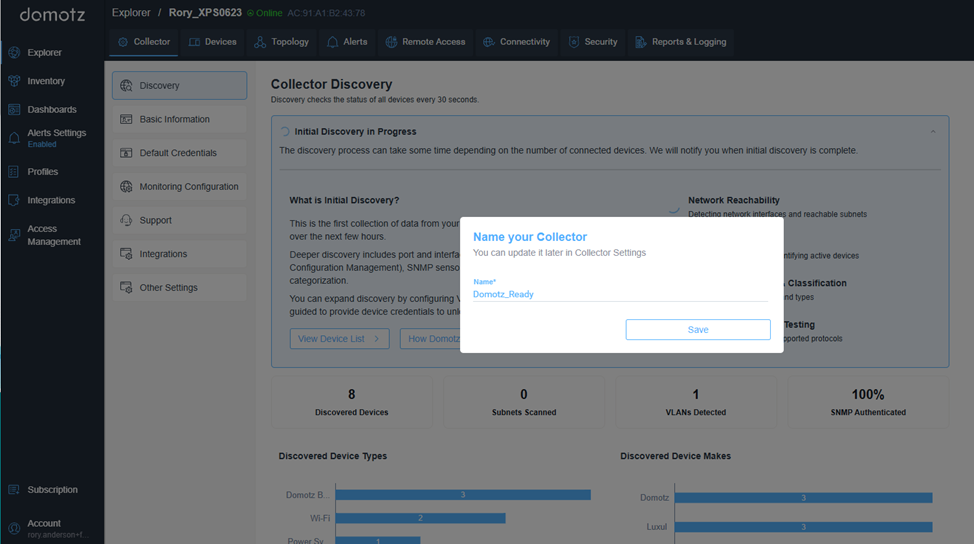
Naming a Collector in Domotz
1. Navigate to the "Collector" section in the Domotz interface and select "Discovery" from the left-hand menu.
2. In the "Collector Discovery" area, review the status updates on device discovery.
3. A popup window titled "Name your Collector" will appear. Enter a desired name in the field labeled "Name," replacing the default "Domotz_Ready."
4. Press "Save" to confirm the new collector name. This can be updated later in the Collector Settings if needed.
If the collector is unable to associate automatically, then the activation page can be accessed via browser from the agent host at the following address: http://127.0.0.1:3000
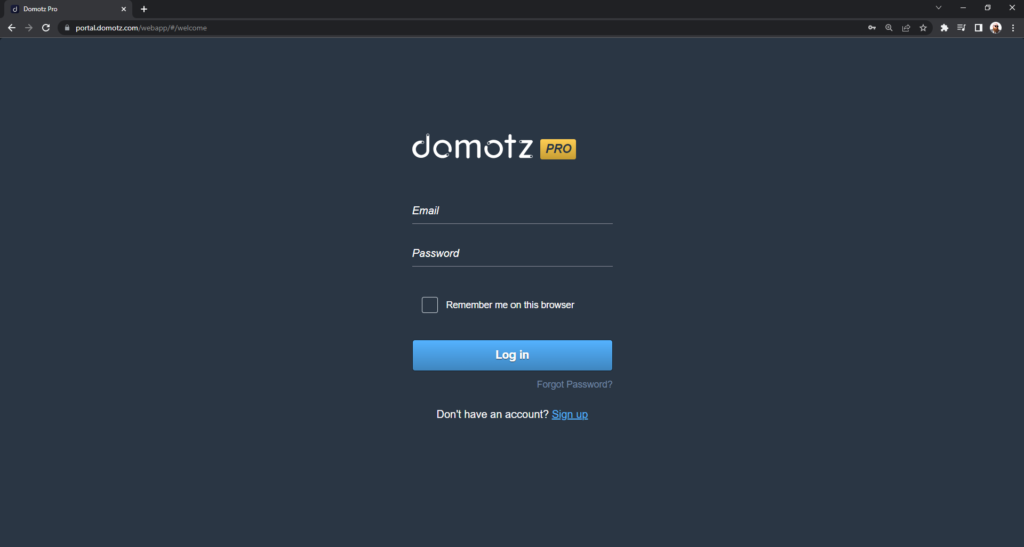
Log in to Domotz Pro.
1. Enter your email in the "Email" field.
2. Enter your password in the "Password" field.
3. Optionally, check "Remember me on this browser" to stay signed in.
4. Click the "Log in" button to access your account.
For password recovery, select "Forgot Password?" If you need to create an account, click "Sign up."
To install the windows agent silently, or via scripting please see THIS guide.