Domotz Ubiquiti UniFi Integration
If you have a Local or a Cloud controller (e.g. on Hostifi) you can unlock advanced features inside Domotz.
As a matter of fact, you can remotely monitor your UniFi devices including network switches, WiFi controllers and access points, get device status alerts and access enhanced network management features for certain UniFi devices.
Introduction
In order to enable the specific integration within Domotz, you need to do some configuration on the Unifi console, and after that you will be able to “connect” Domotz to the Ubiquiti UniFi controller/s.
In the Ubiquiti Console – Ubiquiti UniFi Configuration
Option 1 (suggested) – Configure a Local Admin Account
Starting from July 2024, MFA will become mandatory for Ubiquity accounts. To enable (or maintain an existing) UniFi Domotz integration, you have to create a “Local Admin account” on your Unifi controller.
Here’s a step-by-step guide to creating a local admin account on your UniFi Controller:
- Log in to your UniFi Controller using the new interface.
- Create a local admin account:
- Select Admins & Users.
- Under the Admins section Add a new admin user and ensure that the Restric to local access only checkbox is enabled.
- Enter a username (it doesn’t have to be an email address), and set a password.
- Make sure to take note of the username and password.
- Uncheck the Use a pre-defined role and see the Network permission to Site Admin
- Click on Add

Option 2 – Use the Multi Factor Authentication Seed
Currently, Ubiquiti does not provide APIs which supports multifactor authentication, in order for Domotz to retrieve data from the UniFi controller, we need you to enter the MFA seed in the Domotz Portal
Step 1 – How to retrieve the Ubiquiti Unifi MFA seed
- Open an Incognito Browser Window if you are already logged in with your main account, or logout in advance
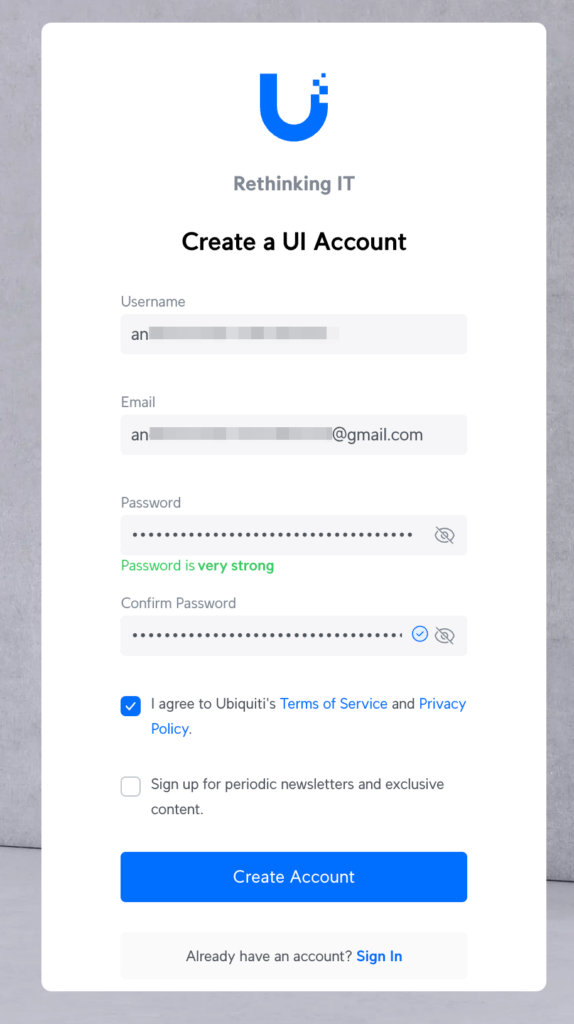
- Create a new account on https://account.ui.com/register
- Configure MFA selecting App Authentication option and click on the “Enter code manually”. This will provide you the MFA Seed code.
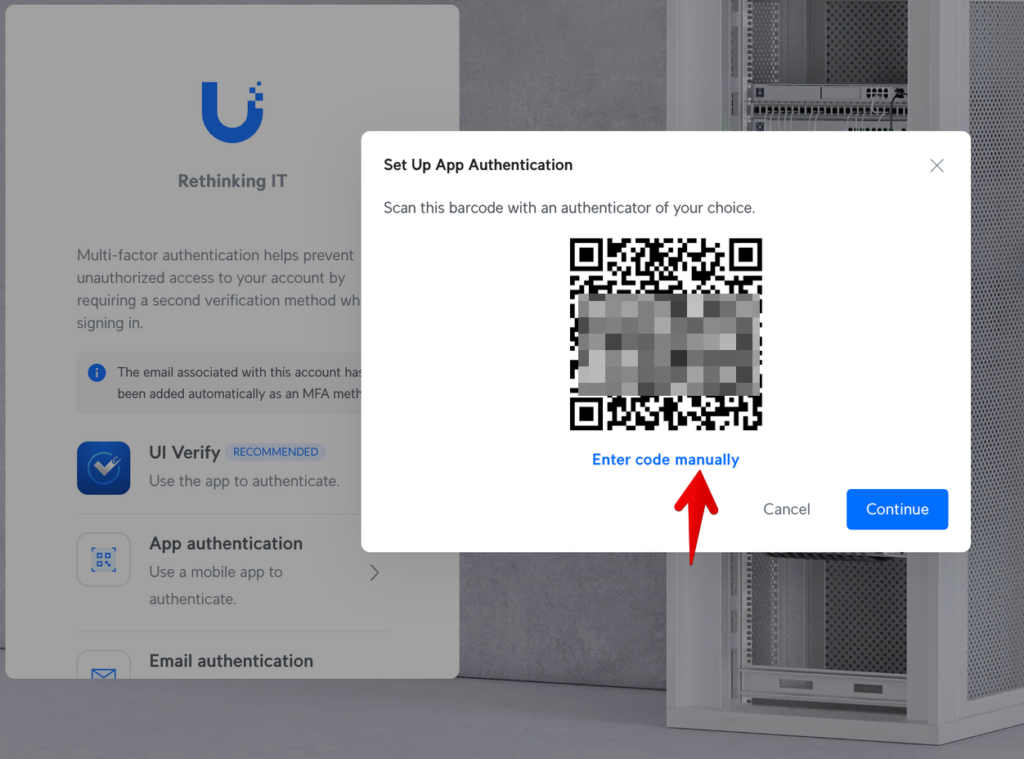
- Get the code and save securely the MFA Seed code. This will be used to be entered later in Domotz.
- Complete the MFA configuration using the preferred Authenticator App
- Login on your Admin account, and go to Admins page: https://unifi.ui.com/admins-list
- Invite a new Admin using the same dedicated email address used in step 1.
Please note that the admin can be global or site specific:

- After clicking on add, wait for the confirmation email, and Accept Invitation on it
Please remember to enable access to all the required Sites on for this new Ubiquiti account.
In Domotz – How to “connect” your UniFi Controller in the Domotz App
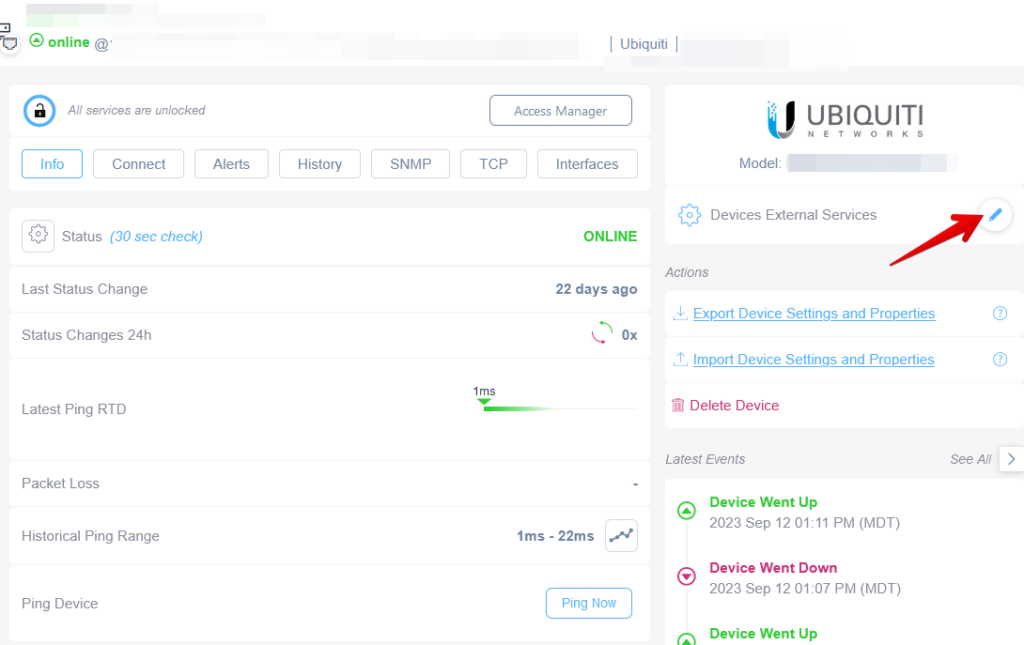
The UniFi Controller can be connected via the “Devices External Services”.
When you configure a Unifi Cloud Controller instead of a local controller, you must enter the controller URL retrieved from the Cloud Controller console. If, for example, the URL is:
https://unifi.ui.com/consoles/b0dc2a0b-7f73-4217-9245-35b00a148971/network/default/settings/wifi
Domotz will use the first part of the URL until the ID (e.g. https://unifi.ui.com/consoles/b0dc2a0b-7f73-4217-9245-35b00a148971) to detect the Cloud Controller integration; anything after that is optional.
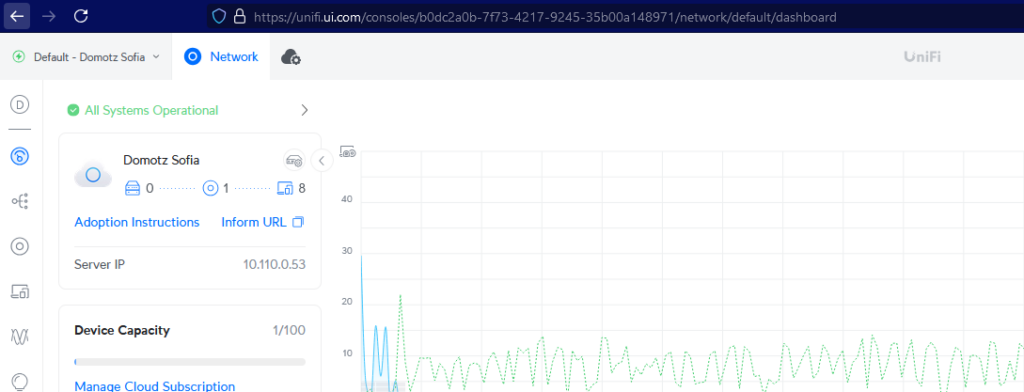
As this is feature which as to be enabled per site, in order to configure and enable it, you might access any of your Ubiquiti devices in that specific site.
To do that you might search using the Inventory Dashboard for an Unifi device in that specific site:
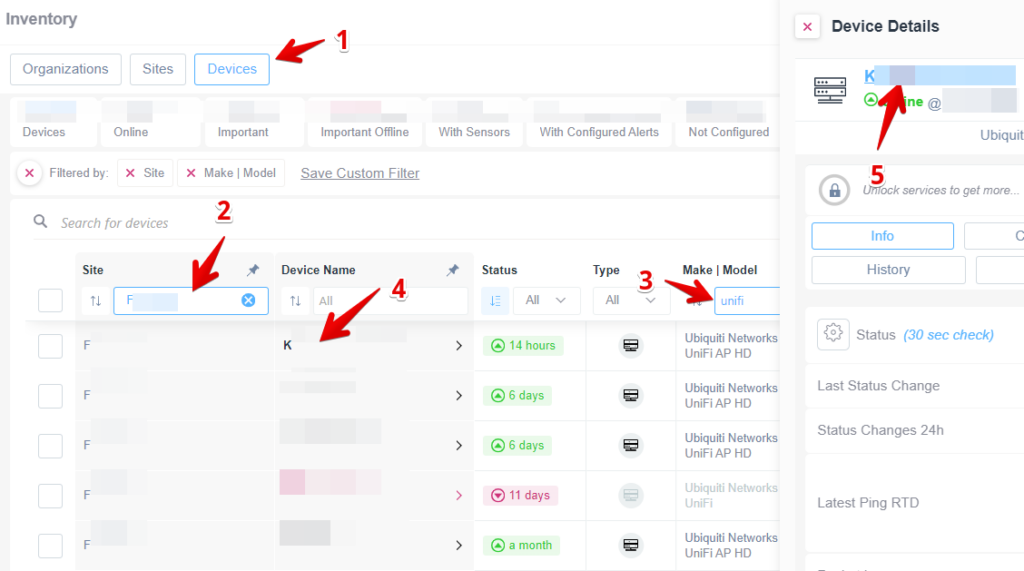
and after entering its device view, you might click on the “Device External Services” pen icon which you might find under the Ubiquiti Logo:
Option 1 – Using the Local Admin Account

After that, will be asked to select the sites:

Option 2 – Use the Multifactor Authentication Seed
Once the standard modal opens up, please selected the “here” link that takes you to the alternative modal for entering the MFA seed:

Please compiled the required fields (remember always to enter the port number in the Controller text field, like shown in the screenshot below, in case you don’t use the default one), and add the MFA seed:

Then connect the integration and select the sites as in option 1.
Features
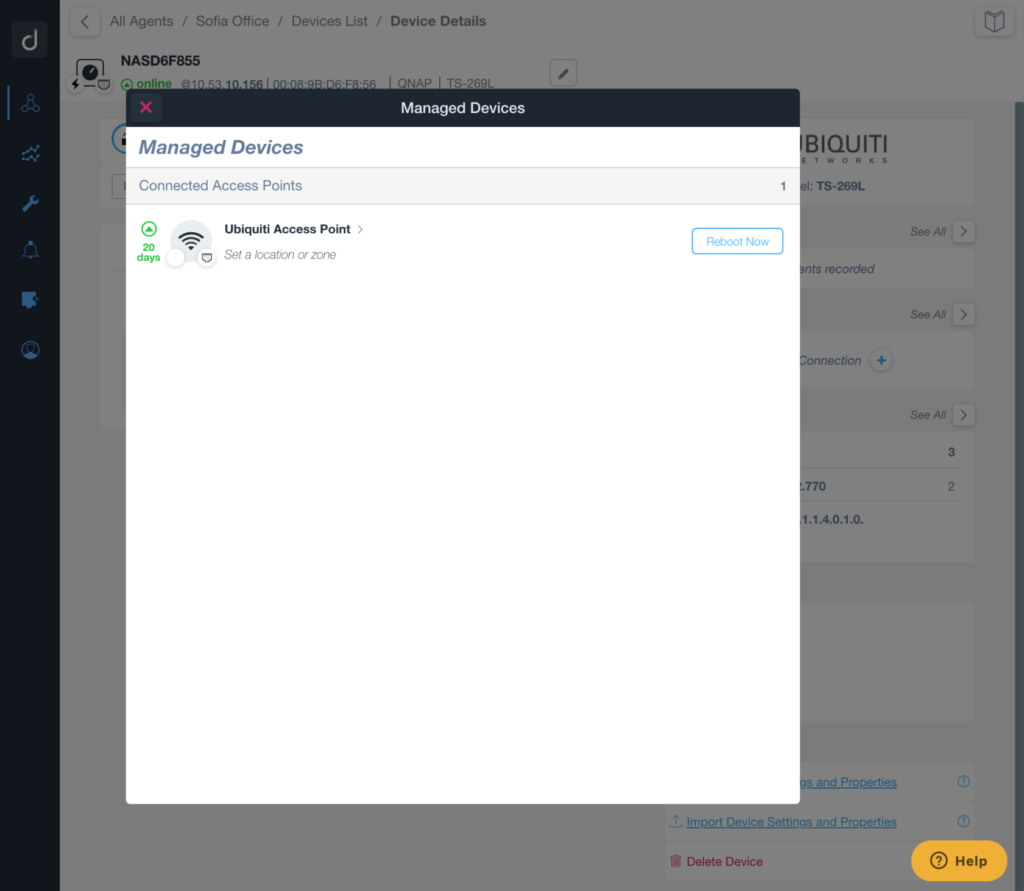
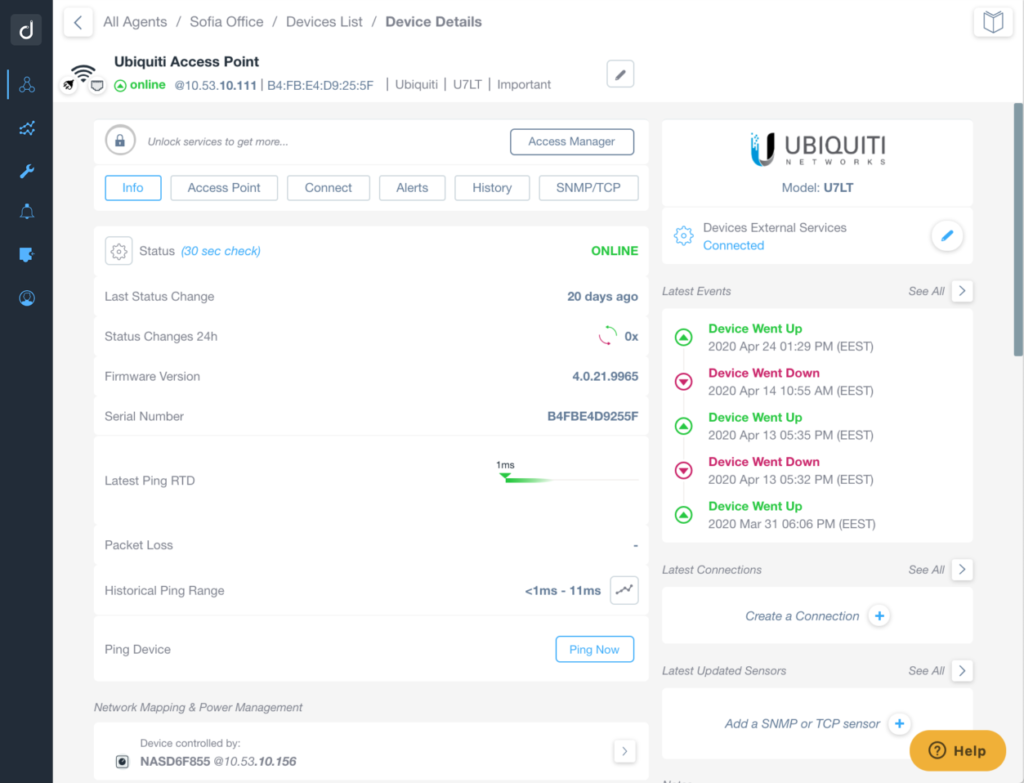
These are some of the additional info/features that you’ll get once the UniFi controller is Connected (Cloud Controller) or Unlocked (Local Controller):
Ubiquiti UniFi AP
- Reboot
- Basic information like:
- firmware
- model
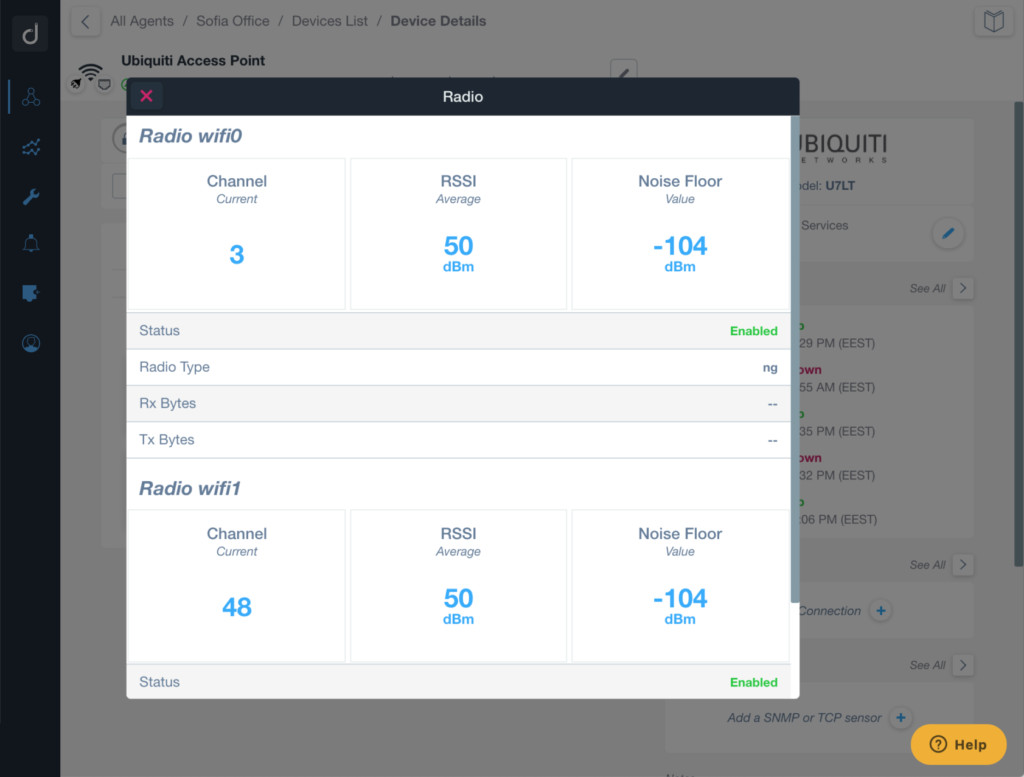
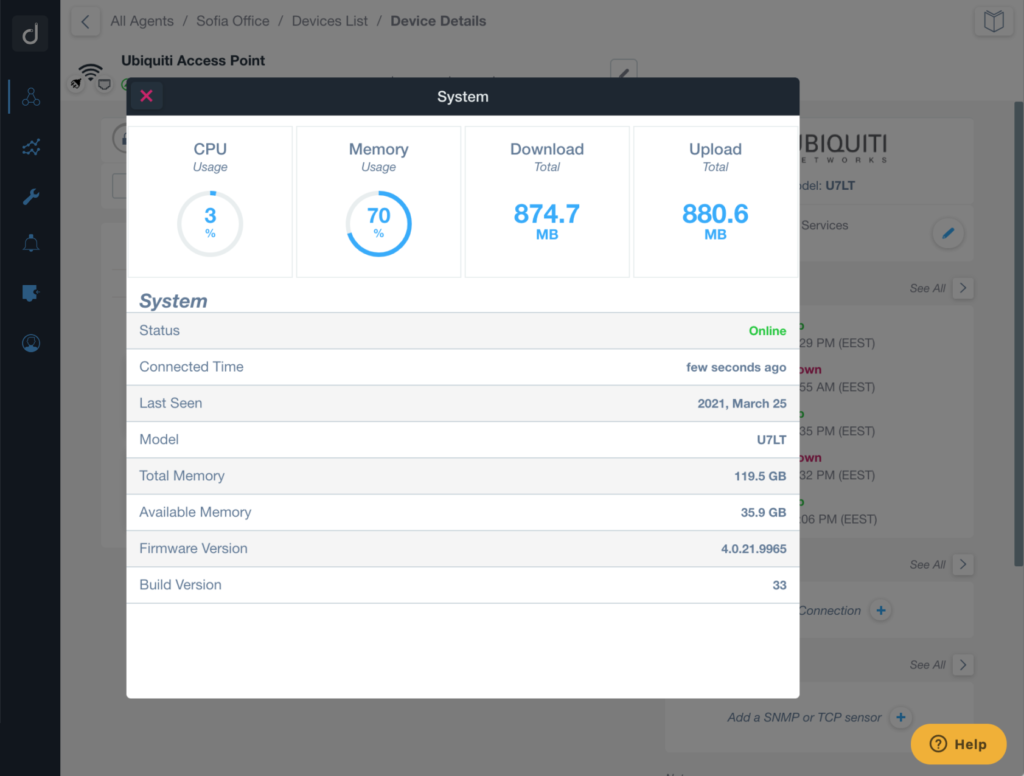
- Advanced information like:
- Monitor signal strength and noise level of APs by channel
- Monitor signal strength of connected clients
- Monitor access point traffic/hardware utilization
- etc
Ubiquiti UniFi Switches
- On/Off of PoE ports
- Port Mapping
- Port PoE consumption
Examples of Ubiquiti/UniFi remote monitoring and management
