Domotz Collector Installation on Raspberry Pi
This section contains a few tips and tricks on how to get started with the Domotz Collector on your Raspberry Pi.
Installing the Domotz Collector
Option A: Installing the Domotz Collector on Raspberry Pi OS
If you have a brand new Raspberry PI with no OS, here a useful article explaining how to install Raspberry Pi OS.
Once Raspberry Pi OS is installed, you can proceed with the following steps.
Step 1
Make sure your Raspberry Pi is connected to the internet. We recommend using a network cable and connecting your Raspberry Pi directly to your router.
Step 2
1. If you don’t have it already, you need to install the Snapcraft store first:
sudo apt-get update
sudo apt-get install snapd
2. Install the Domotz PRO Agent from the Snapcraft store and assign its permissions as follows:
sudo snap install domotzpro-agent-publicstore
sudo snap connect domotzpro-agent-publicstore:firewall-control
sudo snap connect domotzpro-agent-publicstore:network-observe
sudo snap connect domotzpro-agent-publicstore:raw-usb
sudo snap connect domotzpro-agent-publicstore:shutdown
sudo snap connect domotzpro-agent-publicstore:system-observe
3. Load the tun module needed for the VPN on Demand feature:
sudo sh -c 'echo tun >> /etc/modules'
sudo modprobe tun
4. Comment one line in this file /etc/ld.so.preload to disable a module that conflicts with the snap package:
sudo nano /etc/ld.so.preloadBefore:
/usr/lib/arm-linux-gnueabihf/libarmmem-${PLATFORM}.soAfter:
#/usr/lib/arm-linux-gnueabihf/libarmmem-${PLATFORM}.so*Just add a # at the beginning of the line. If you can’t find this line or the file, jump to the next step.
5. Restart the Domotz Pro Collector service:
sudo snap restart domotzpro-agent-publicstoreThis preloaded module conflicts with the snap package causing VPN on Demand not to work.
6. Last step is commenting the line 19 of the file /etc/ssh/ssh_config:
sudo nano /etc/ssh/ssh_configBefore:
Include /etc/ssh/ssh_config.d/*.confAfter:
#Include /etc/ssh/ssh_config.d/*.conf*Just add a # at the beginning of the line.
This setting conflicts with the snap package environment preventing remote sessions.
First time setup
The next step is to configure your Domotz Collector. To do so, make sure you’ve downloaded and installed the Domotz App on your mobile device. Then simply tap on the drawer menu button and tap on “Add Site” towards the bottom of the menu. This will automatically detect any new Domotz Collectors on your network, as long as your mobile device is connected to the same network as your Domotz Collector. You can then proceed to configure your Domotz Collector following the steps below on your mobile device without having to know the IP address of your Domotz Collector.
Alternatively, you can type in the IP address and port shown in the Domotz App in a web browser on your PC. For example, if the IP address was 192.168.1.39 you type http://192.168.1.39:3000 and then hit enter (remember to use http:// and not https://). You should now see the Domotz Collector webpage.
At this point, you’ll be asked to create an account if you don’t already have one. Please follow the on-screen instructions.
If you already have a Domotz account, you can login straight away. Otherwise, you can create a Domotz account signing up from here (please make sure you specify the right Country):


Once logged in you can finally activate your collector, with the following steps:
- Assign a name to the Collector
- Specify whether you run the Collector at home or office
- Press the “Activate your Collector” button

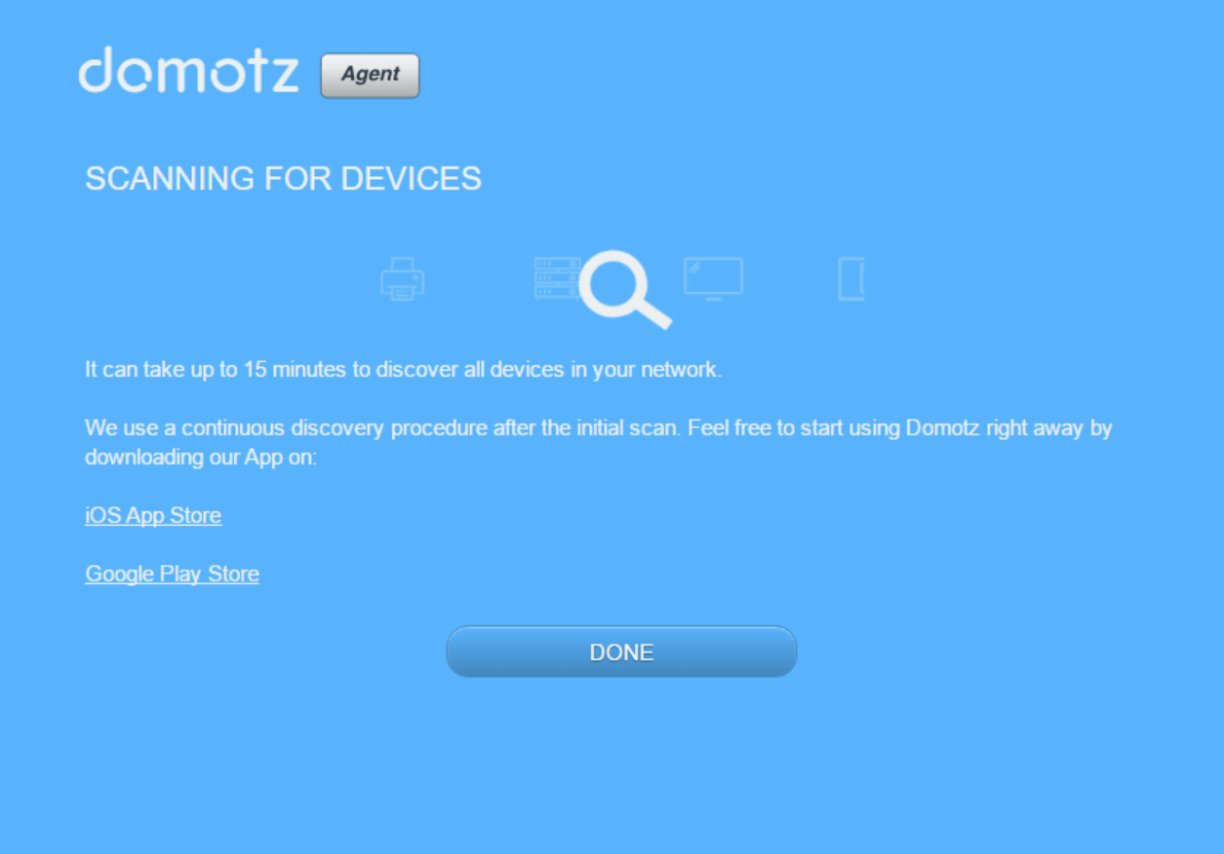
Once this has been done, the Domotz Collector will proceed to scan your network for devices. This will take anything from a few minutes up to 15 minutes, depending on how many devices you have on your network.


