Prerequisites
Before proceeding please check that the Domotz Box is plugged in on to a trunk port of your switch which is able to see all your VLANs.
Domotz Box Configuration
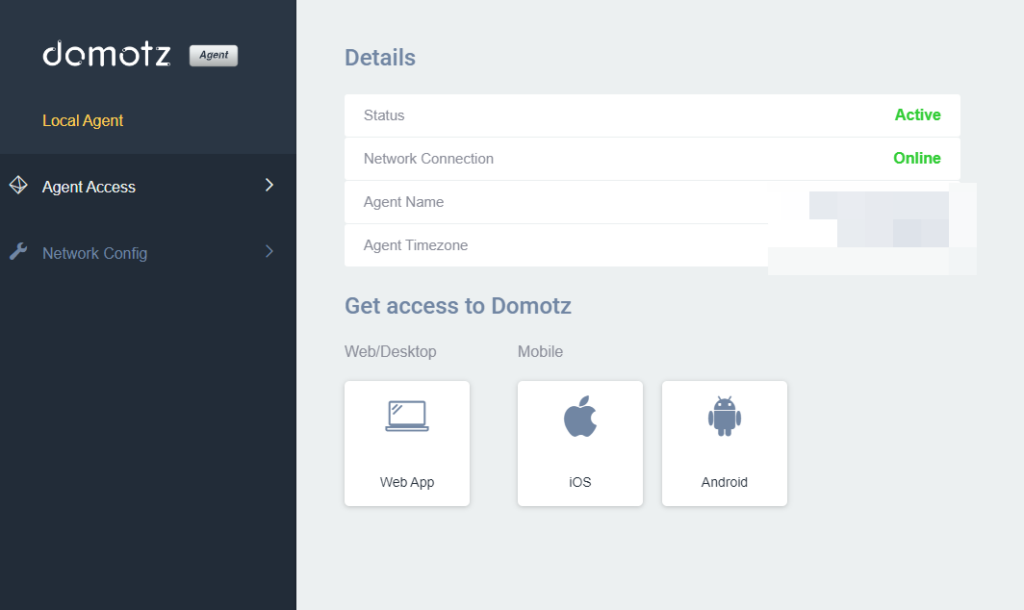
Connect directly to the HTTP service running on port 3000 (http://domotzboxipaddress:3000 — remember to use http and not https):

Click the “Network Config” to enter the network configuration and then on the “Config” button next to the VLAN label:

The following screen will appear and will assist you in configuring VLANs:

For every VLAN that you want to add, you need to specify:
1) The Identification number of the additional VLAN — the VLAN tag/id
2) The Static IP address of the Network Interface of the Domotz Box on the additional VLAN — Make sure that the IP Address on the additional VLAN is not in use, and it is not the *.*.*.0 of that subnet (e.g. do NOT use IP addresses like 172.16.10.0).
3) The subnet mask on the additional VLAN.


