Domotz Kaseya BMS Integration

Domotz network monitoring software includes Kaseya business management solution (BMS) integration so you can monitor and manage devices in Domotz and discover issues. Furthermore, you can send those issues directly to Kaseya professional service automation (PSA) software to track them.
This integration aims to help you with better tracking and troubleshooting of network and device issues which Domotz discovers.
How to set up the Domotz Kaseya BMS integration
You can connect your Kaseya BMS Account to Domotz. Kaseya BMS will become one of the Contact Channels available when creating a Shared Alert. This means that you can create or update a Kaseya ticket when a specific event occurs in Domotz.
You’ll need:
- Kaseya BMS Username
- Kaseya BMS Password
- Kaseya BMS Company (e.g. Domotz Inc)
- Kaseya BMS URL: please check your Kaseya BMS URL endpoint (e.g. https://bms.kaseya.com)
Kaseya BMS Contact Channel creation
Once you have received your API credentials, you can proceed in connecting it to Domotz.
1. Open the Shared Alerts and Ticketing Systems menu from the left sidebar inside the Domotz App and click on Connect Account next to the Kasya BMS section.

2. Click on Connect Account button under the Shared Alerts and Ticketing System section in Domotz and then insert your Kaseya username, password, company and URL:

3. The next step is to select the following required fields in order for Domotz to successfully create a ticket into the Kaseya BMS ticketing system:
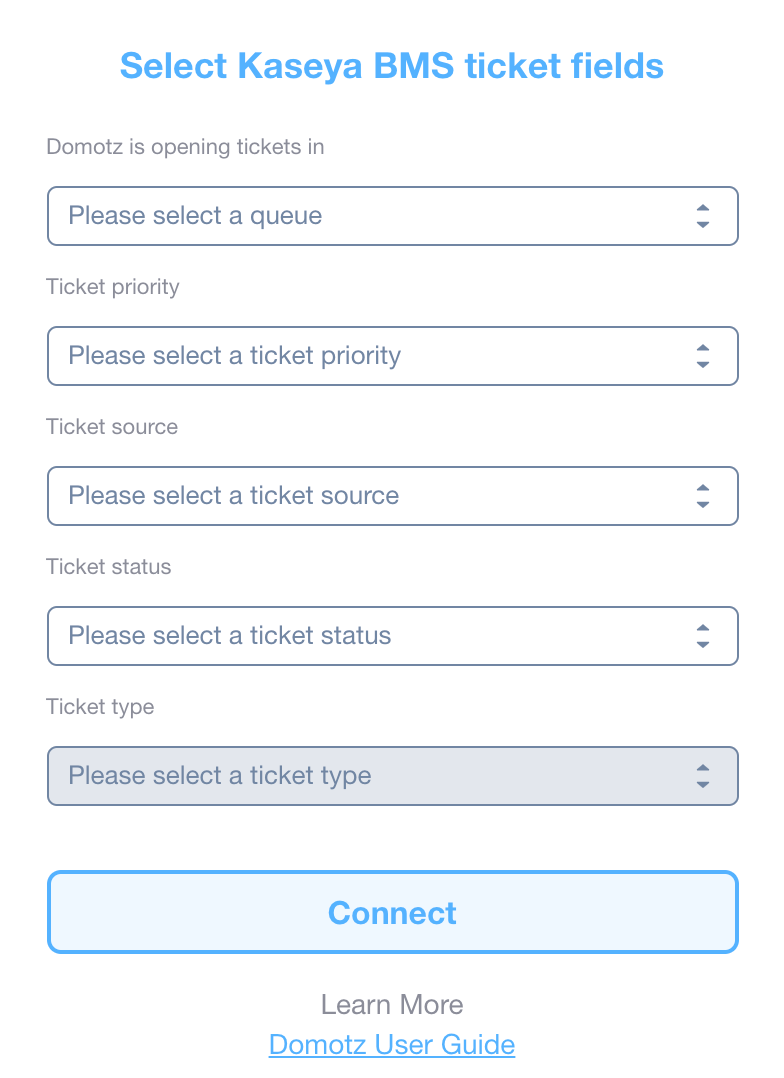
- The ticket queue is where Domotz will create support tickets:
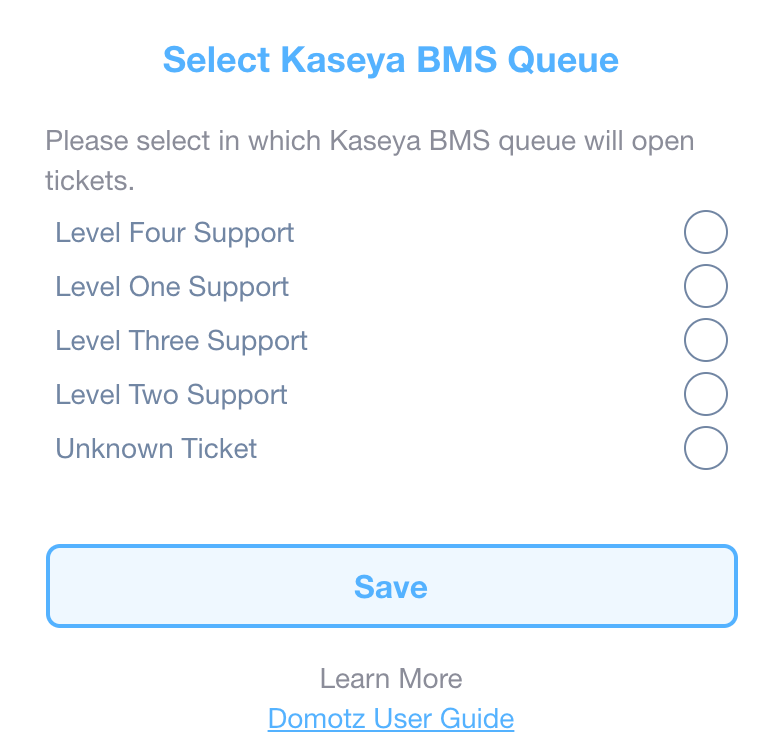
- Ticket priority – select a specific priority for each ticket from the list of ticket priorities defined in your Kaseya BMS account:
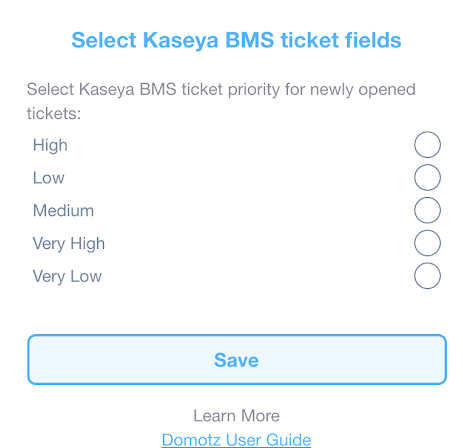
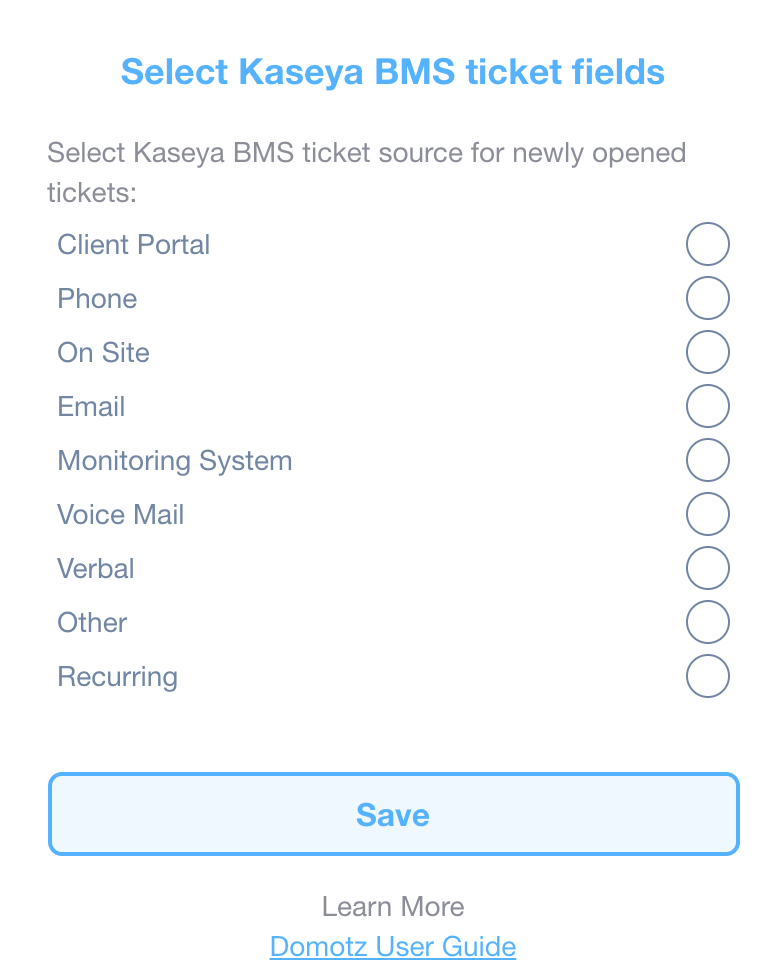
- Ticket source – select a specific source for each ticket from the list of ticket priorities defined in your Kaseya BMS account:
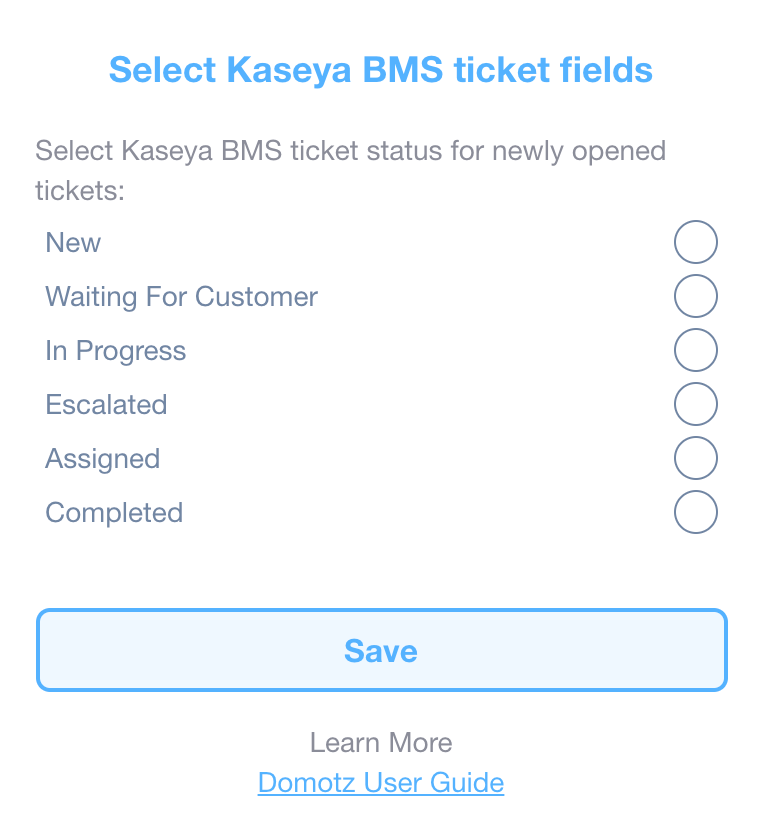
- Ticket status – select a specific status for each ticket from the list of ticket priorities defined in your Kaseya BMS account:
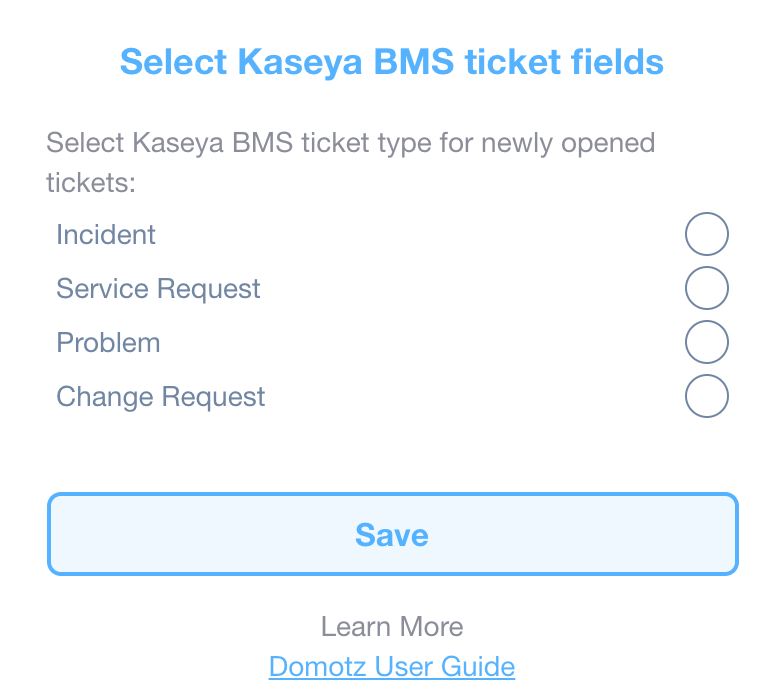
- Ticket type – select a specific type for each ticket from the list of ticket priorities defined in your Kaseya BMS account:
Your Kaseya BMS account is now connected with Domotz.
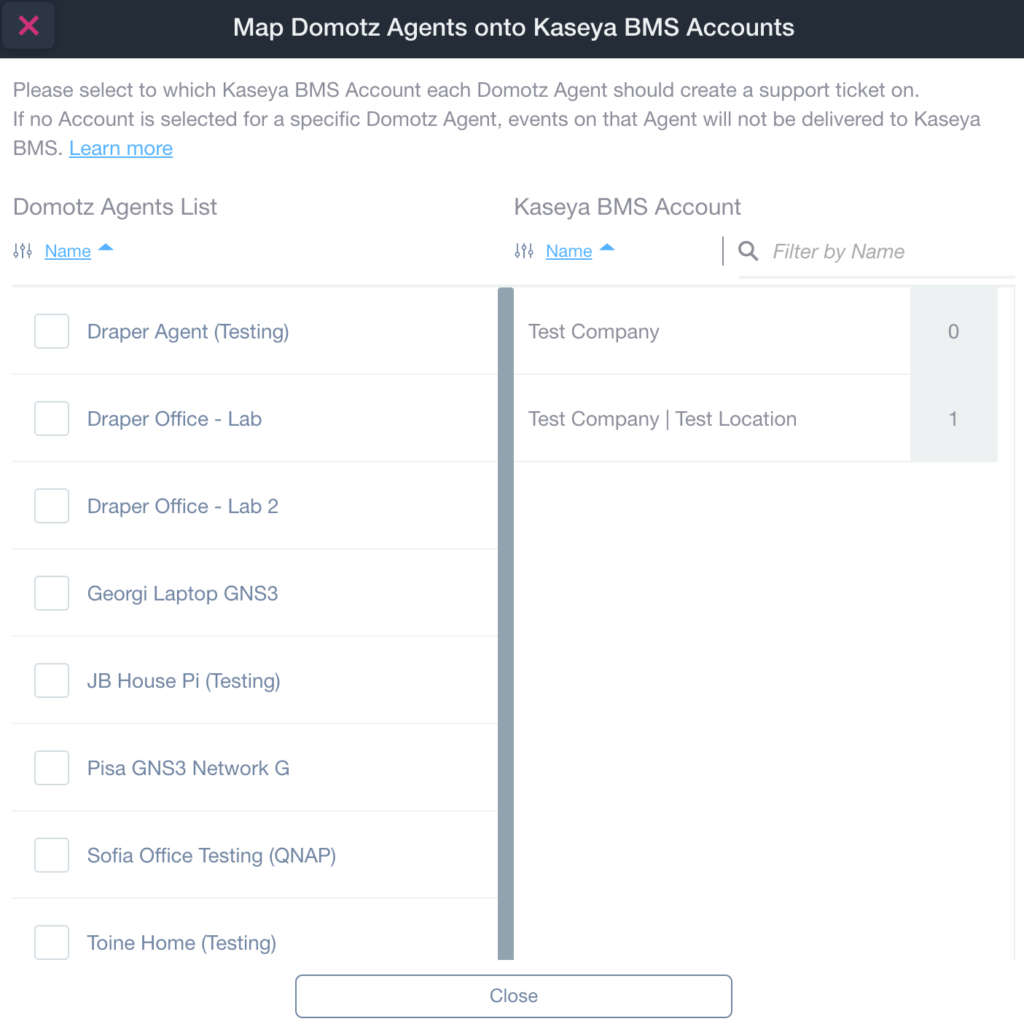
4. Click on Manage Agents and select to which Kaseya BMS Accounts each of your Domotz Agent should create your support tickets.
Once you have selected a particular contact, please specify the location for that contact:
You are now able to use the Contact Channel for Kaseya BMS, within the Shared Alert profile. Once the Shared Alert profile is created, apply the Shared Alert to the Agents and Device for which you are willing to automatically open tickets in your Kaseya BMS.
Automatically Close Tickets
To enable this option go to “Alerts Settings”:

And click on the “Edit” button on the Kaseya BMS Contact Channel section:

A this point you will have to: (i) check the Automatically close tickets, if possible” checkbox; (ii) to be able to set the “Status” of a “Closed Ticket”:


Select Contract for Customer’s Ticket
To attach each ticket created for a customer to a specific contract you have to access the Alerts Settings section on your Domotz agent:

And then click on the “Manage Agents” button on the Kaseya BMS Contact Channel section:

From this view you can create and/or modify an Agent/Customer association and attach it to a contract:


