How to deploy a prebuilt Hyper-V VM agent
This article contains a few tips and tricks on how to deploy a pre-built Hyper-V virtual machine image to a Hyper-V host.
Get your pre-built Hyper-V image
1. Download the Hyper-V image from here:
- US Mirror: domotzpro-ubuntu-24.04.2-x64-4.9.2-7.4.2-b001-204-hyper-v_2025.zip
- EU Mirror: domotzpro-ubuntu-24.04.2-x64-4.9.2-7.4.2-b001-204-hyper-v_2025.zip
2. Unzip it in a location of your choice.
Deploy the VM
1. Open the Hyper-V Manager > Click on Action > Import Virtual Machine:
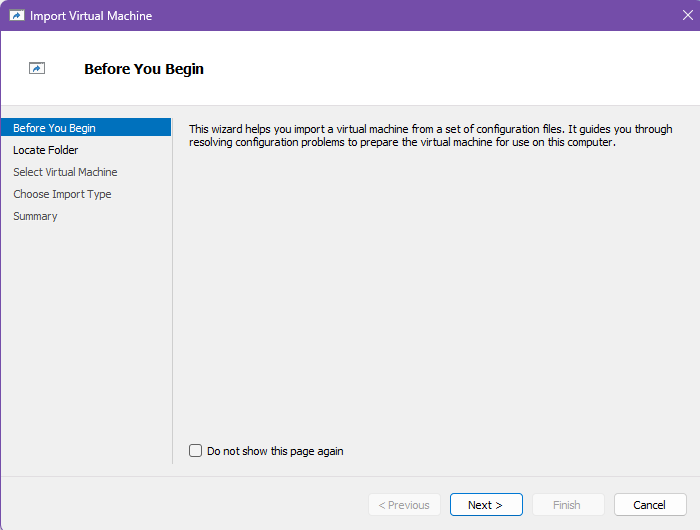
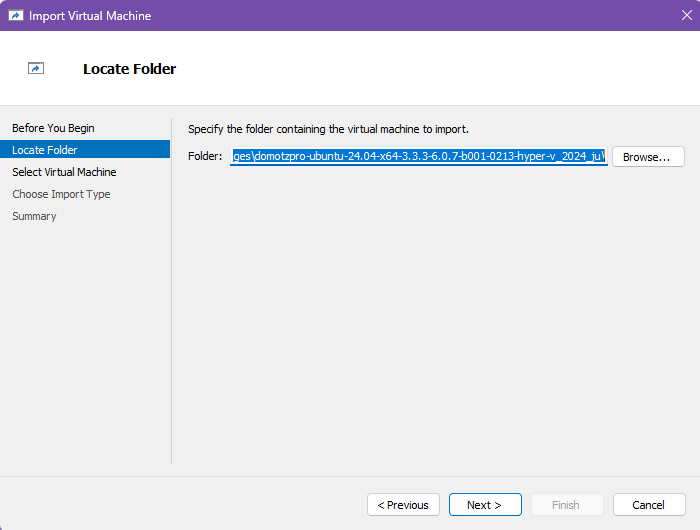
2. Click on Next > Browse and choose the folder where you extracted the VM Image:
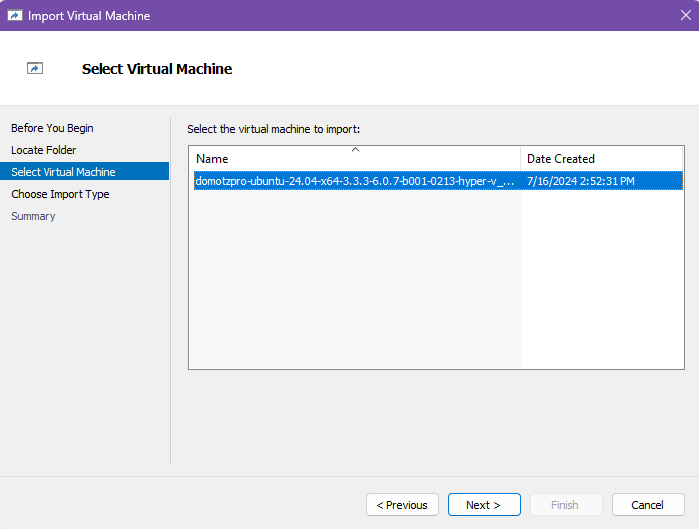
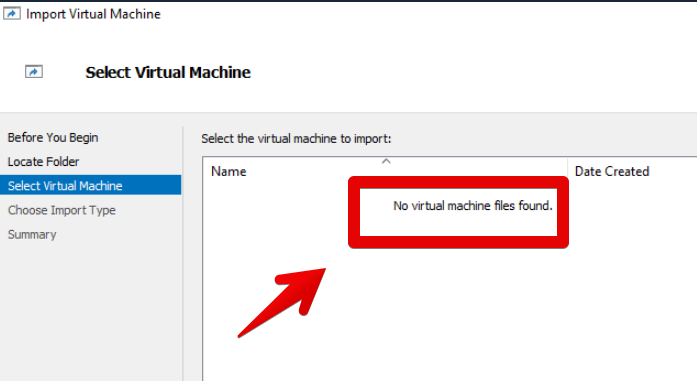
3. Select the VM image:
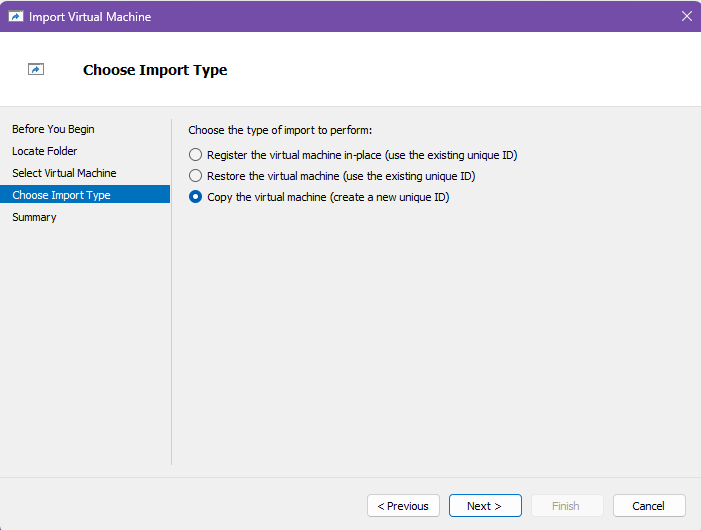
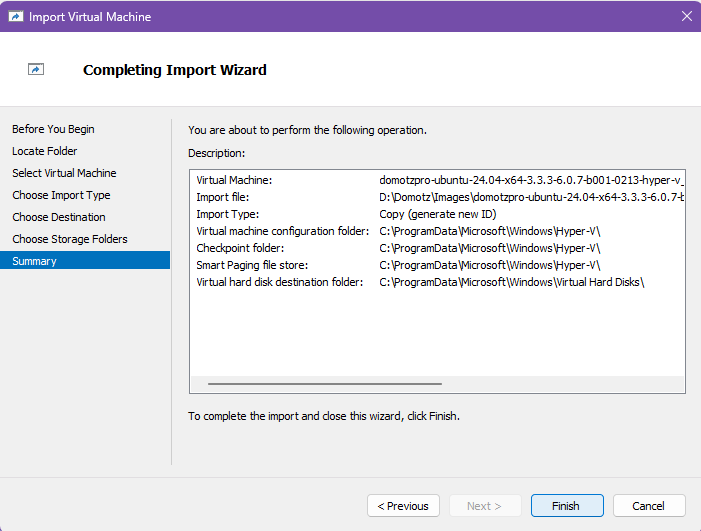
4. Select “Copy the virtual machine (create a new unique ID)”:
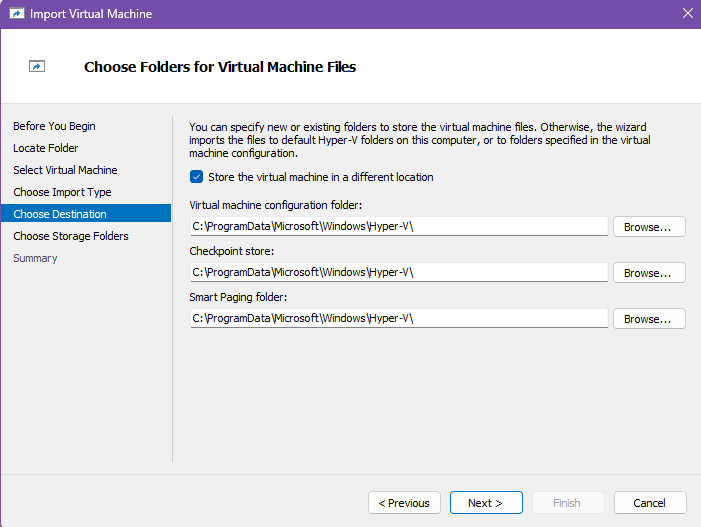
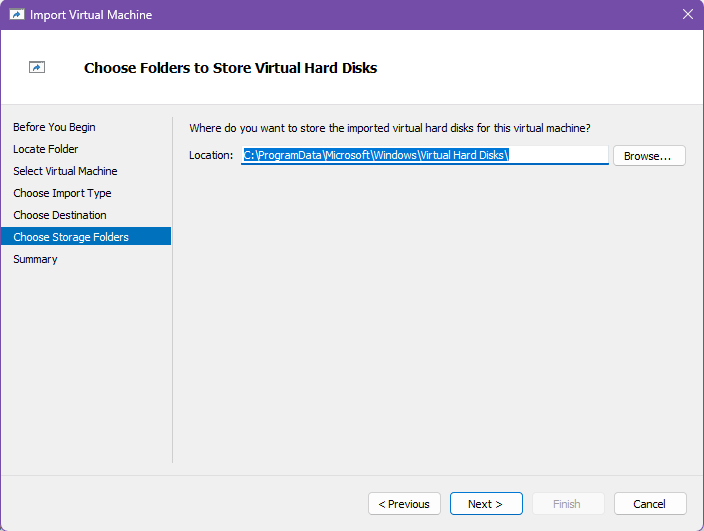
5. Select the location where you want to save the VM and the location for its virtual Disks:
6. Click on finish.
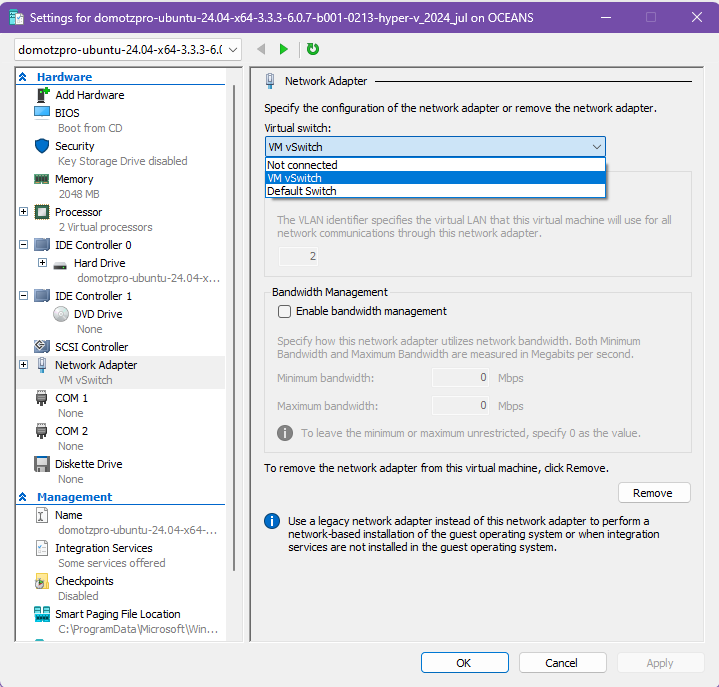
7. Once the VM is imported make sure the VM is connected to the correct virtual switch configured in bridge mode. By doing this the VM will be able to get a valid IP Address on the network:
8. Start the VM.
To login and see the current IP address use the following credentials:
User: domotz
Password: domotz
9. At the command prompt run the command “ifconfig”, the current IP Address will be shown.
10. Activate the agent from a browser to access the VM IP address (which you discovered by issuing the ifconfig command) on its port 3000.
For example, http://192.168.1.104:3000
11. Set up a process to keep the Virtual Machine always updated and upgraded to the latest releases. Only the Domotz Agent software is automatically upgraded via the SNAPd process.
Creating a Virtual Machine from Scratch using the Domotz Disk provided
Instead of importing the VM over, you will do the following:
- Unzip the Hyper-V file that you downloaded from our site (this can be unzipped wherever you wish)
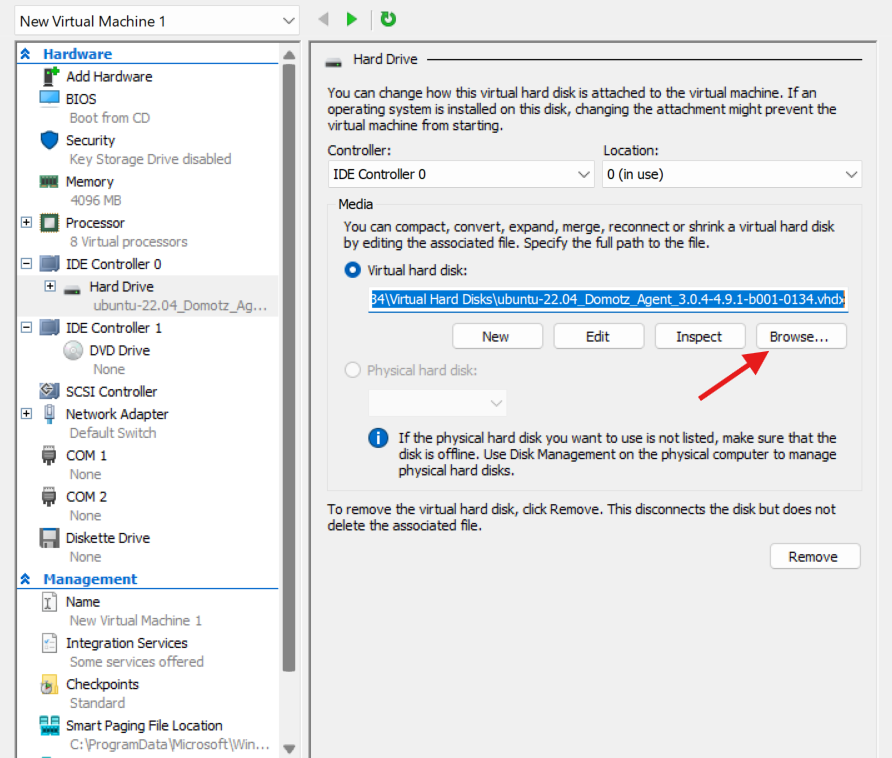
- Create a new virtual machine from scratch (selecting GEN 1) (1-2 cores, 2-4 GB of RAM, 20-40 GB of HDD space)
- Select the Virtual disk that is shown.
- Start the VM