Domotz and Protectli have worked together to create an easy-to-install, Intel-based solution for Domotz users that want more performance while still having an easy to manage solution. Preinstalled with an Ubuntu OS and associated Domotz collector, this box is ready to monitor your network, while also giving you the flexibility to add more software services as needed.
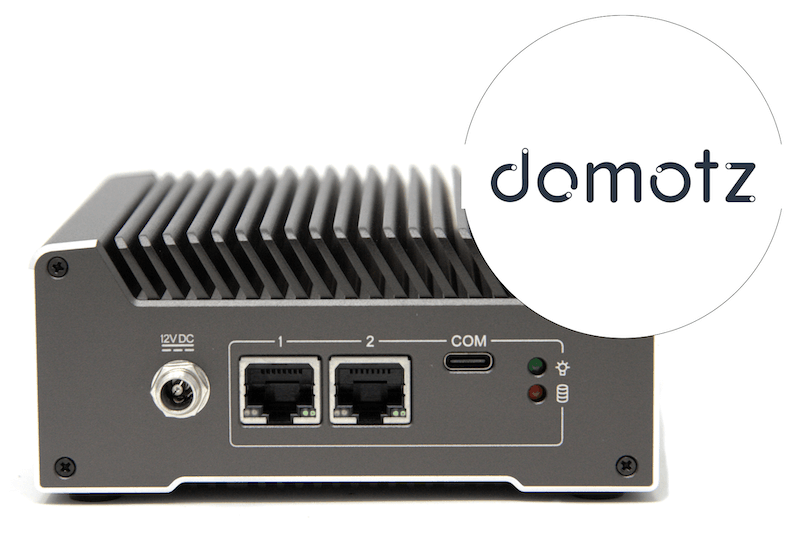
The Protectli box is designed as a generic, small form-factor PC. With the standard configuration, you will notice that there is a WAN and LAN port. You can use either network interface for Domotz. Domotz will scan either port for devices or cloud connectivity, but the system can be configured to use one port for LAN traffic, while using the second port for connectivity to an ISP. For example, if you need to have an air-gapped solution within a network.
Note:
As compared to the Domotz Box (Model B-12):
- The Protectli solution offers higher throughput for Internet Speed Testing
- The Protectli solution offers better performance for advanced networks that require SNMPv3 monitoring
- The Protectli solution offers the ability to monitor more VLANs and subnets
- The Protectli solution offers users the ability to run 3rd Party software along with the Domotz Agent.
- The Protectli solution performs better on wider networks (e.g. networks with /16 subnets – also called Big Network scans in Domotz)
- For added security and transparency, the Protectli solution uses coreboot as focused on the boot and BIOS process. For more information, please visit this article.
As a matter of fact, the above mentioned features require higher hardware resources which are somehow limited on the Domotz Box (based on an ARM chipset – as opposed to the Protectli one based on an Intel one). For this reason, if you need a more powerful (but still dedicated) hardware for scanning and monitoring your network, we recommend using the Protectli one.
To Get Started
1) Connect an Ethernet cable to one of the Ethernet ports on the Protectli device (LAN or WAN, either will work), and plug the other end into the network you want to scan. Ensure that this network has internet access. Also, make sure the PC or mobile device you’ll use for activation is connected to the same network as the Protectli device.
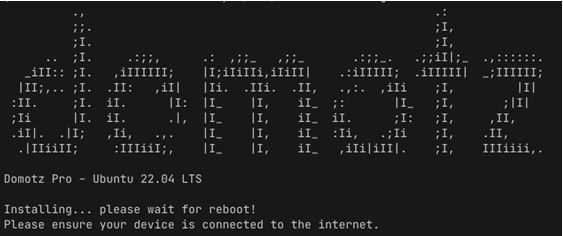
2) During the initial boot, the Domotz Collector will be installed, and essential system settings will be configured.
Please wait until the unit automatically reboots after displaying the following message:
3) The Protectli device is configured to use DHCP, so it should automatically obtain an IP address from your DHCP server.
As with any Domotz Collector, open a web browser and navigate to the device’s IP address, followed by port 3000:
http://$proteclt_ip_address:3000
4) Use your Domotz account Username/Password to associate the Domotz Collector with your account.
Accessing the Domotz Protecli
By default, the SSH is disabled on the Protectli device.
Should you want to configure the Protectli box in a customized manner, you will need to connect a keyboard and monitor to the Protectli device. Upon boot-up, you will notice all the necessary services starting on the box.
The first time you try to log in to the Protectli Box, you will be asked to change the default password.
The default is:
Username: domotz
Password: <MAC Address on bottom of Protectli Box, all lowercase digits and numbers, no colons>
NOTE: The MAC Address used for the default password is the WAN port MAC address, which is printed on the bottom sticker of the Protectli unit.
How to Reset the Password
To reset the user ‘domotz‘ password, please follow these steps:
1 – During the initial Boot, keep pressing ‘ESC’ to enter the Grub Boot Menu Selector. (If this fail see below)

2 – Select Advanced Options for Ubuntu then select the latest kernel in Recovery Mode.
3 – At the next screen select ‘root – Drop to root shell prompt’.
4 – At the shell (‘root@ubuntu:~#’), run:
mount -o remount,rw /5 – Change the password for the local user domotz with the following command:
passwd domotz6 – Once the password is updated, to reboot the system run:
rebootEnabling SSH Connections
Should you wish to enable SSH on the Protectli Box, you will need to run the following commands, which will allow SSH connections to the host:
sudo ufw allow sshThe same rule can be deleted with:
sudo ufw delete allow sshHow to configure the network and VLANs
Since the Domotz Protecli Box runs Ubuntu, you might use the following bash scripts:
1) Network Configurator:
2) VLAN Configurator:
https://raw.githubusercontent.com/domotz/support_scripts/refs/heads/main/linux_agent/add_vlans.sh
How to Factory Reset the Protectli Box
The Protectli Box is running Ubuntu Server 24.04. If there is an issue with the underlying OS and you need to completely restore the box with a brand new image, you will first need to flash the box with the Ubuntu server image and then you can use our install script to install the Domotz Collector and configure the box.
What You’ll Need
Before getting started, make sure you have the following:
- Protectli Vault (Domotz edition)
- USB drive — at least 4GB. Note that everything on this drive will be erased during this process, so back up any important files beforehand.
- A computer to download the Ubuntu ISO and flash the USB drive
- Monitor and keyboard — required to complete the installation on the Vault
- Internet connection — for downloading the ISO and (optionally) for the Vault during setup
Step 1: Download the Ubuntu 24.04 Server ISO
- On your computer, open a browser and go to: https://ubuntu.com/download/server
- Click Download Ubuntu 24.04 LTS — the download will start automatically.
- Save the
.isofile somewhere you can easily find it (e.g. your Downloads folder). The file is roughly 2.5GB, so it may take a few minutes depending on your connection.
Step 2: Flash the ISO to Your USB Drive
You can use Balena Etcher (recommended for most users, works on Windows, Mac, and Linux) or Rufus (Windows only).
Option A: Balena Etcher
- Download Etcher from https://etcher.balena.io and install it.
- Plug in your USB drive.
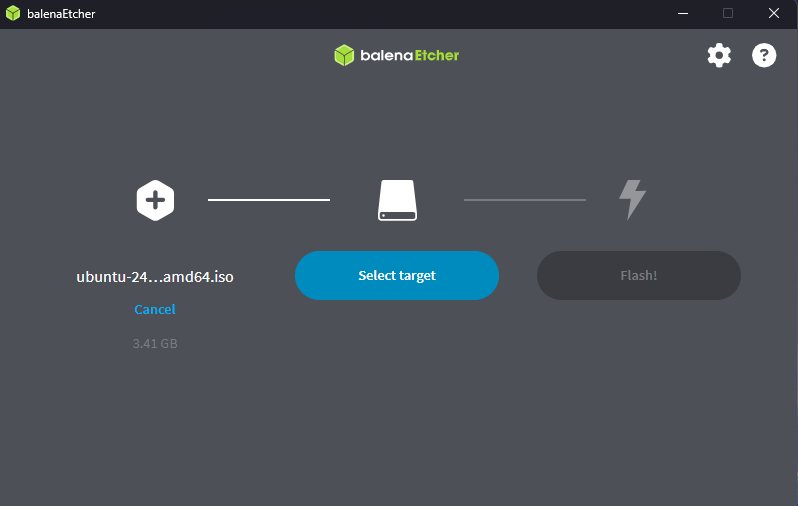
- Open Etcher and click Flash from file, then select the Ubuntu ISO you downloaded.
- Click Select target and choose your USB drive. Double-check you’ve selected the right drive — everything on it will be wiped.
- Click Flash! and wait for it to complete. Etcher will also verify the flash automatically when it finishes.
Option B: Rufus (Windows only)
- Download Rufus from https://rufus.ie (no install required — it runs as a standalone executable).
- Plug in your USB drive.
- Open Rufus. Under Device, select your USB drive.
- Under Boot selection, click Select and choose the Ubuntu ISO.
- Set Partition scheme to GPT.
- Set Target system to UEFI (non CSM).
- Leave all other settings at their defaults and click Start.
- If prompted to choose between ISO and DD mode, select Write in ISO Image mode.
- Confirm the warning that your USB drive will be wiped, then wait for it to finish.
Once complete, safely eject the USB drive.
Step 3: Boot the Vault from the USB Drive
- Connect a monitor and keyboard to the Protectli Vault.
- Plug your flashed USB drive into one of the USB ports on the Vault.
- Power on the Vault.
- As soon as you see the Protectli splash screen, press F11 repeatedly. This will open the boot device selection menu.
- Use the arrow keys to select your USB drive from the list and press Enter.
Step 4: Install Ubuntu Server
The Vault will boot into the Ubuntu 24.04 Server installer. The installer is text-based and navigated using the keyboard — use the arrow keys to move between options, Space to select/deselect checkboxes, and Enter to confirm.
Work through each screen as follows:
1. Language Select your preferred language and press Enter. For most users this will be English.
2. Installer Update (if prompted) If the installer offers to update itself before continuing, select Update to the new installer and wait for it to finish. If you’d prefer to skip this, select Continue without updating — either is fine.
3. Keyboard Configuration Select your keyboard layout. For most users this will be English (US). Press Enter on Done when finished.
4. Type of Install Select Ubuntu Server (the default) and press Enter on Done. You do not need the minimized version.
5. Network Configuration The installer will detect the Vault’s network interfaces. If an Ethernet cable is connected, it should automatically obtain an IP address via DHCP and show a connection. Confirm the interface looks active and press Enter on Done.
6. Proxy Configuration Leave this blank unless your network requires a proxy to access the internet. Press Enter on Done.
7. Ubuntu Archive Mirror The installer will suggest a mirror for downloading packages. The default is fine for most users — it will auto-select based on your location. Press Enter on Done.
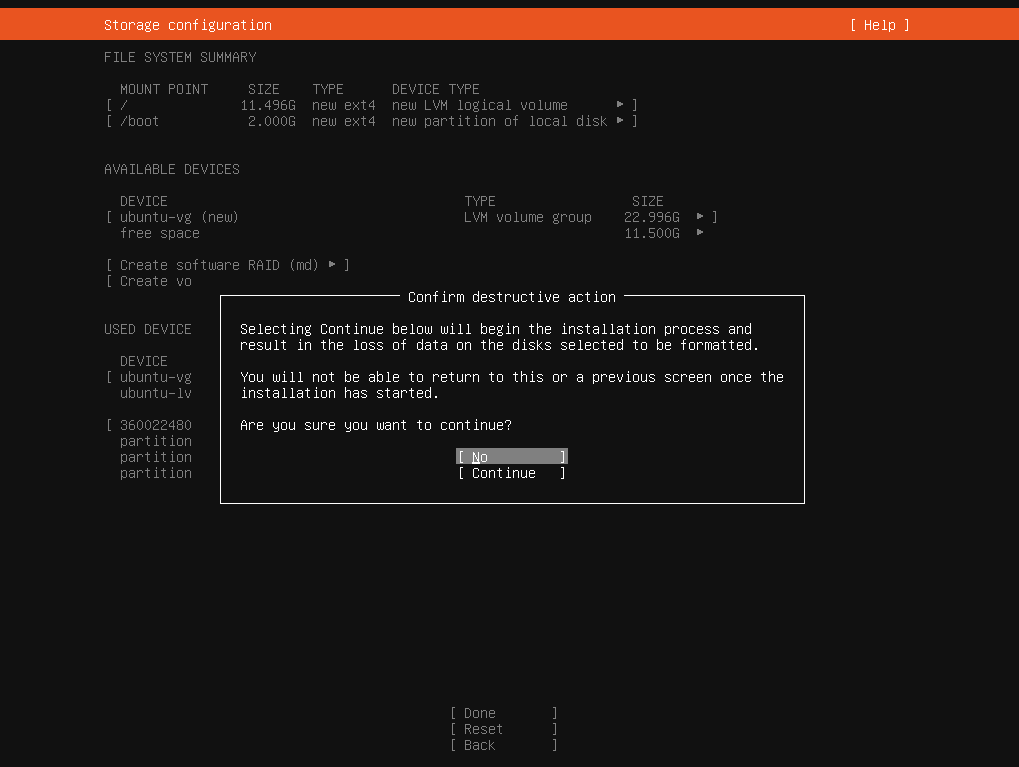
8. Storage Configuration Select Use an entire disk for a clean installation. Make sure the correct disk (the Vault’s internal SSD) is selected. Leave Set up this disk as an LVM group checked. Press Enter on Done.
On the next screen you’ll see a summary of the changes that will be made to the disk. Review it and press Enter on Continue.
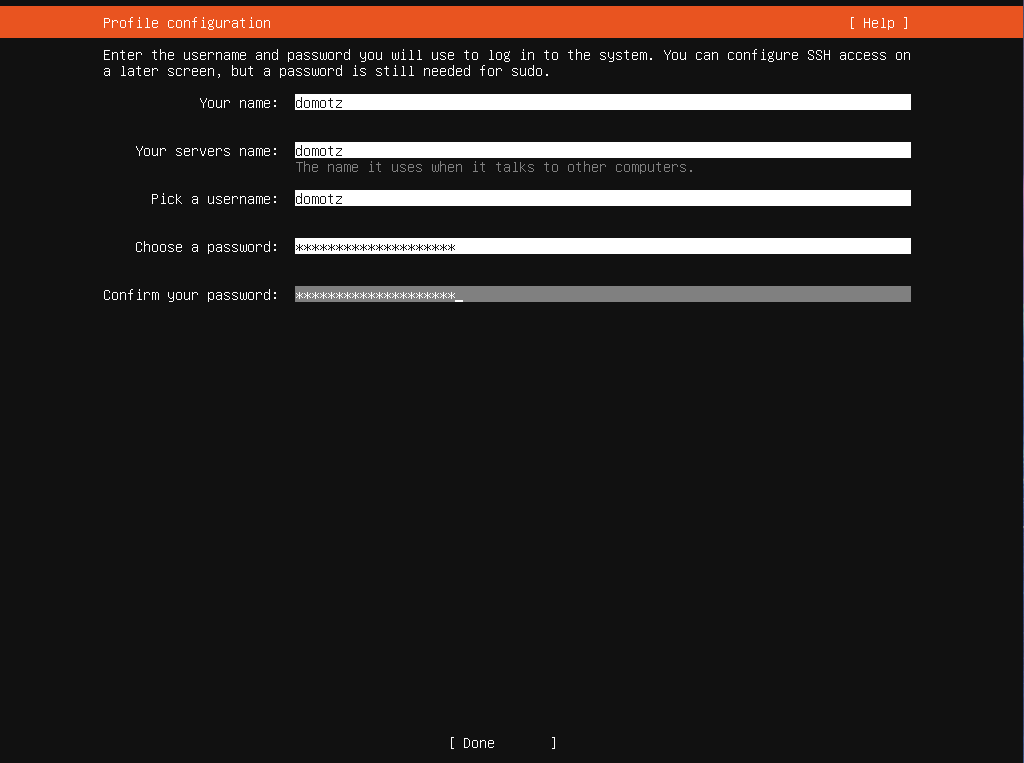
Profile Setup Enter the following:
- Your name — a display name for the account
- Your server’s name — a hostname for the machine (e.g.
domotz-vault) - Username — the login username you’ll use (e.g.
domotz) - Password — choose a strong password and confirm it
Press Enter on Done.
10. Ubuntu Pro Skip this screen by selecting Skip for now and pressing Enter on Continue. Ubuntu Pro is not required for this deployment.
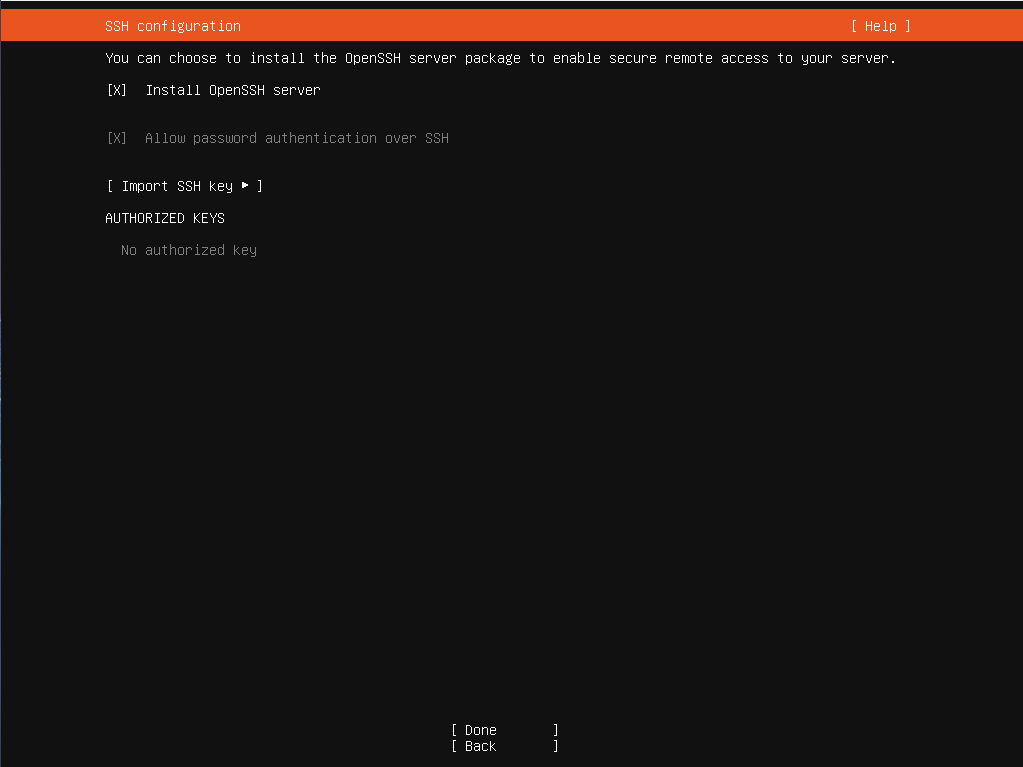
11. SSH Setup Select Install OpenSSH server — this is strongly recommended so you can manage the Vault remotely without needing a keyboard and monitor attached. Press Enter on Done.
12. Featured Server Snaps No additional snaps are needed. Leave all options unchecked and press Enter on Done.
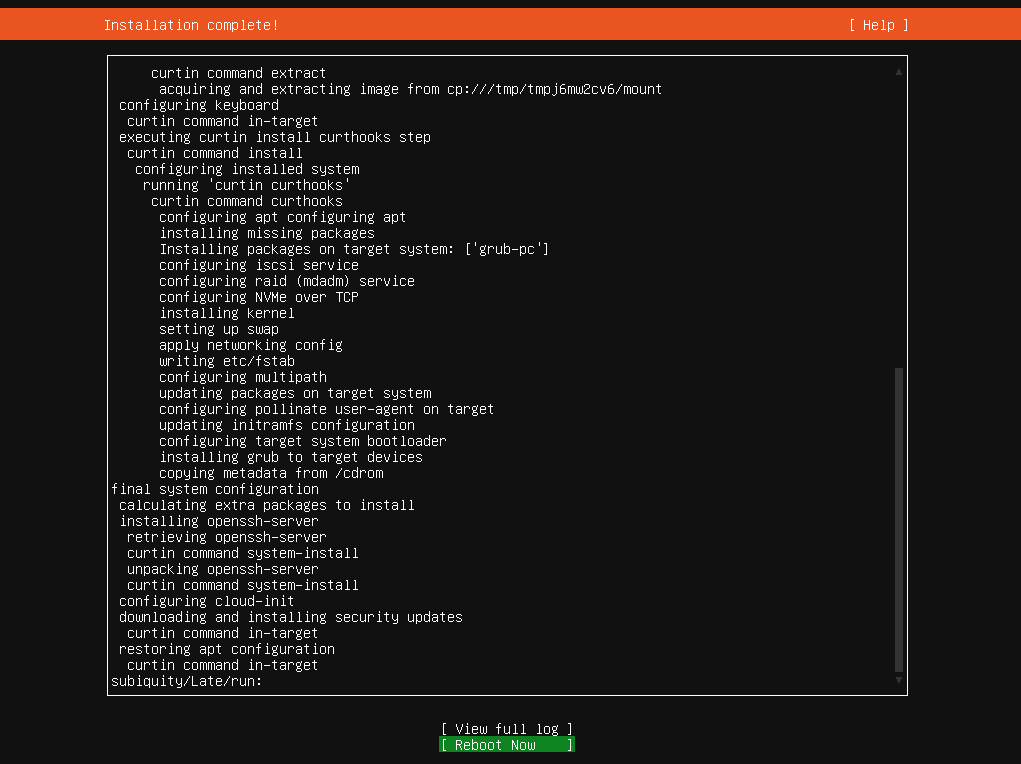
13. Installation The installer will now copy files and install the system. This typically takes 5–10 minutes. You’ll see a progress log scrolling on screen.
14. Reboot When the installation is complete, the installer will display Installation complete! and prompt you to reboot. Select Reboot Now and press Enter. When prompted, remove the USB drive, then press Enter again to complete the reboot.
The Vault will restart and boot directly into Ubuntu Server. You’ll be greeted with a login prompt — use the username and password you set in step 9.
Step 5: Run Domotz Installation Script
1. Access the host
- Locally (direct console access), or
- Remotely via SSH
2. Install wget (if not already installed)
Run the following command to ensure wget is available:
sudo apt update
sudo apt install wget -y
3. Download the Installation Script
Use wget to fetch the scripts for installing the Domotz Collector and configuring the Protectli Box:
cd ~
wget https://raw.githubusercontent.com/domotz/support_scripts/refs/heads/main/ubuntu_install/DomotzPro_Ubuntu24.04.2.sh
4. Set Script Permissions
Make the script executable:
sudo chmod +x DomotzPro_Ubuntu24.04.2.sh5. Run the Installation Script
Execute the script for the Domotz Installation and configuration:
sudo ~/DomotzPro_Ubuntu24.04.2.sh6. Activate the Domotz Collector
Navigate to http://[Domotz-Vault-IP]:3000 to either activate or resume the Collector
Where to get it
US and all other countries: https://protectli.com/domotz/
Canada: https://ca.protectli.com/domotz/.