Overview
By default, Domotz automatically discovers all devices within the broadcast domain of the network your collector is deployed on. This works well in most environments, but there are situations where you may want more control, for example, if you’re working on a large flat network and only need to monitor a specific subnet, or if you want to exclude certain IP ranges from discovery entirely.
Domotz gives you two ways to do this: Forced IP Range and Forced IP List. Both options require you to first disable auto-discovery, after which the agent will only scan the addresses you explicitly define.
Forced IP Range lets you define a contiguous block of IP addresses for the agent to scan. This is useful when you want to target a specific subnet or address range.
Forced IP List lets you specify individual IP addresses. This is useful when you only need to monitor a handful of known devices rather than an entire range.
Per-Device Accounts: Configuring from the UI
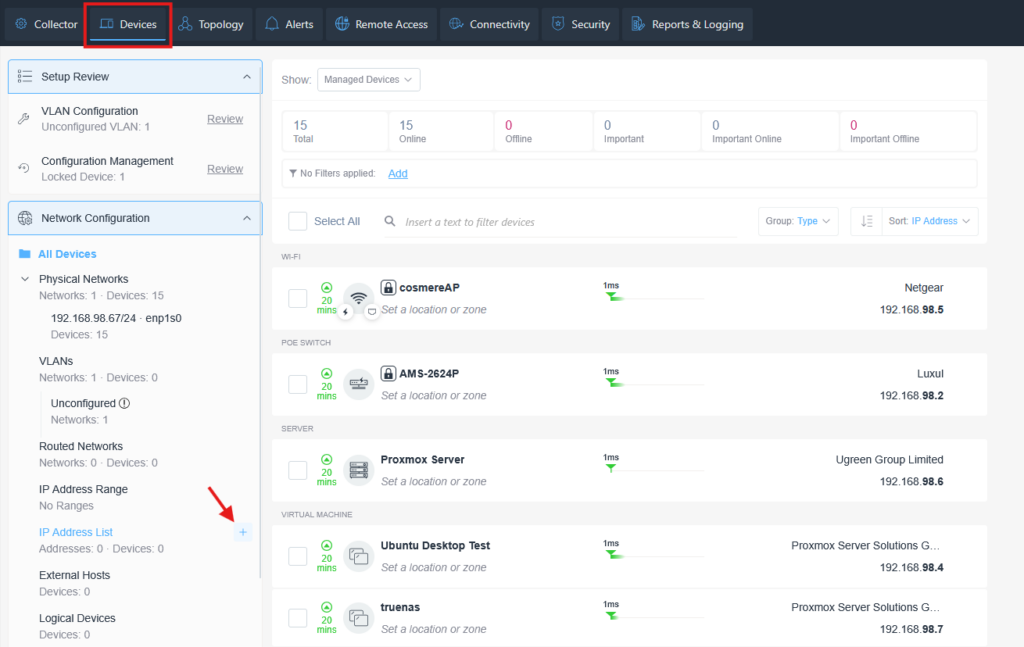
- Toggle off Auto-Discovery to disable automatic scanning of the full broadcast domain.

- Enter the start and end IP addresses of the range you want the collector to scan.
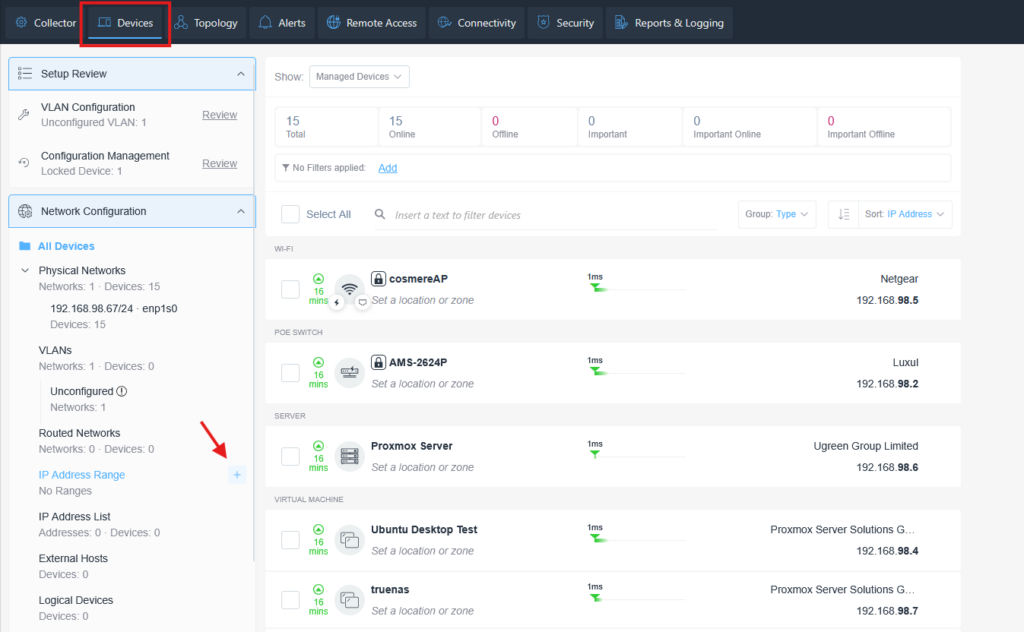
- Enter the list of IP addresses you want the collector to scan.
Per-Location Accounts: Configuring via the API
Before making any API calls you’ll need your API key and the Agent ID for the agent you want to configure. Both are available from your Domotz portal.
Configuring a forced IP scan is a two-step process: first you disable auto-discovery from the UI, then you define the IPs or ranges you want the agent to scan via the API.
Step 1 – Disable Auto-Discovery
Navigate to the “Collector” tab from the Explorer and select the Auto Discovery section and toggle off Auto-Discovery to disable automatic scanning of the full broadcast domain.
Once that’s done, proceed to setting your IP scan policy via the API.
Step 2 – Set Your Forced IP Range, IP List, or Both
Send a PUT request to the IP scan policy endpoint. You can include a forced IP list, a forced IP range, or both in the same request:
PUT https://{api_endpoint}/public-api/v1/agent/{agent_id}/network/ip-scan-policyHeaders:
Content-Type: application/json
X-Api-Key: YOUR_SECRET_TOKEN
Request body (range and list together):
{
  "forced_ip_addresses": [
    "192.168.1.10",
    "192.168.1.25",
    "192.168.1.50"
  ],
"forced_ip_ranges": [
    {
      "start": "10.0.0.1",
      "end": "10.0.0.100"
    },
    {
      "start": "192.168.1.30",
      "end": "192.168.1.40"
    }
  ]
}
To use only a list, leave the body for forced_ip_ranges blank.
{
  "forced_ip_addresses": [
    "192.168.1.10",
    "192.168.1.25",
    "192.168.1.50"
  ],
  "forced_ip_ranges": [
    {
      "start": "",
      "end": ""
    }
  ]
}
To use only a range, leave the body for forced_ip_addresses blank.
{
  "forced_ip_addresses": [
    ""
  ],
"forced_ip_ranges": [
    {
      "start": "10.0.0.1",
      "end": "10.0.0.100"
    },
    {
      "start": "192.168.1.30",
      "end": "192.168.1.40"
    }
  ]
}
Viewing the Current IP Scan Policy
To check what’s currently configured, send a GET request to the same endpoint:
GET https://{api_endpoint}/public-api/v1/agent/{agent_id}/network/ip-scan-policyReverting to Default
To clear the IP scan policy and return the agent to full auto-discovery, send a DELETE request to the IP scan policy endpoint and re-enable auto-discovery from the UI:
DELETE https://{api_endpoint}/public-api/v1/agent/{agent_id}/network/ip-scan-policyFAQ
What happens to devices that were already discovered outside my forced range or list? Devices discovered before you applied these settings will continue to be monitored as normal. They won’t be removed automatically. However, if you manually delete one of those devices, it will not be rediscovered since it falls outside your defined range or list.
Can I use both a Forced IP Range and a Forced IP List at the same time? Yes. You can include both forced_ip_ranges and forced_ip_addresses in the same PUT request and they’ll work together.
How do I revert back to full auto-discovery? Send a DELETE request to the IP scan policy endpoint (per-location accounts) or clear the forced scan settings from the UI (per-device accounts), then re-enable auto-discovery from the UI. This will return the agent to scanning the full broadcast domain.